
Cat Eye Gel Polish & Jelly Layering: How to Create Dimensional Nail Art
Cat eye gel polish is already known for its magnetic streak of light. Jelly gel polish brings something different: translucent color, glossy shine and a sense of depth.
Put the two techniques together and you get a manicure that looks more dimensional without requiring complicated nail art.
The basic idea is simple:
Magnetic cat eye gel → translucent jelly layers → glossy top coat
The cat eye creates the reflective focal point, while jelly gel adds a transparent layer of color over the effect.
The result can look soft and glassy, deep and jewel-like, or completely different depending on the colors and number of layers you choose.
In this guide, we'll show you how to combine cat eye gel polish and jelly gel polish, how to choose colors, and how to avoid the most common application mistakes.

Why Combine Cat Eye Gel Polish With Jelly Gel?
Cat eye gel and jelly gel create two different visual effects.
Cat Eye Gel Polish
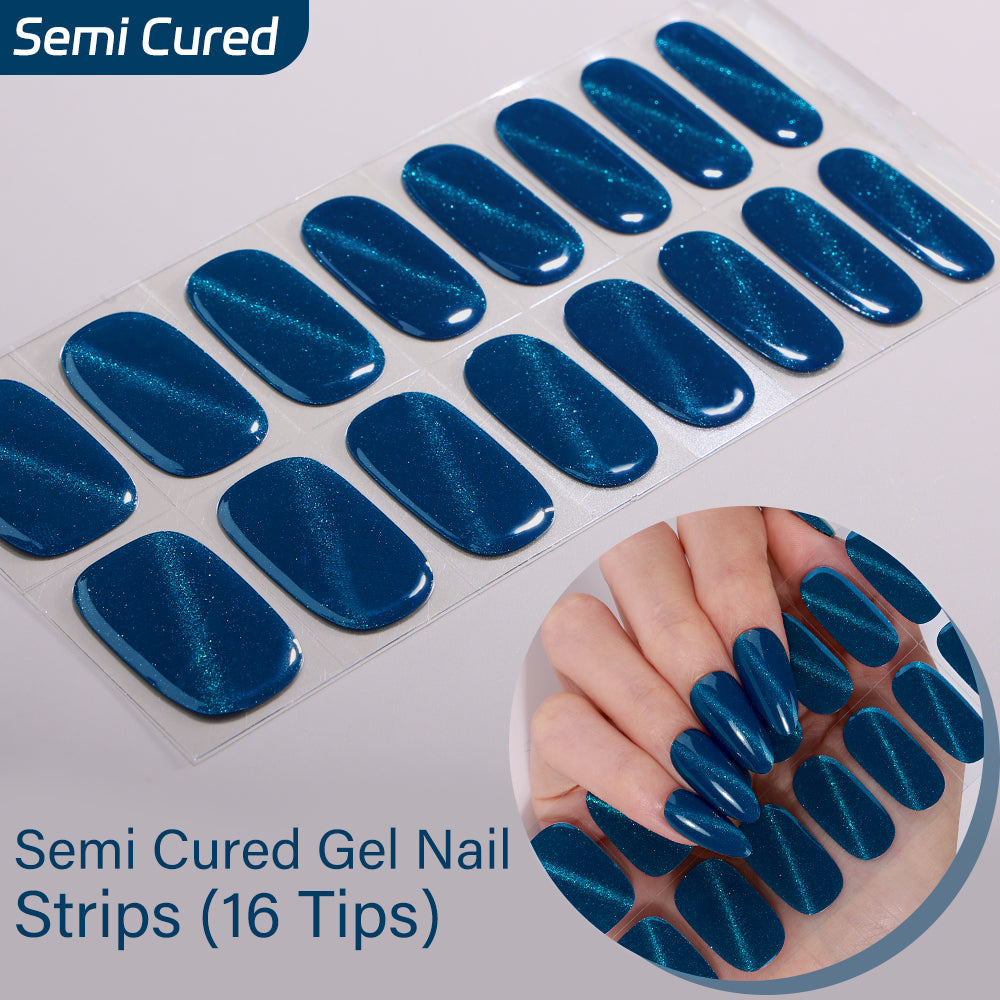
Magnetic particles in the gel can move when a magnet is held close to the uncured product. This creates the concentrated reflective band commonly known as the "cat eye" effect. Once the gel is properly cured, the magnetic pattern is locked into place.
Jelly Gel Polish
Jelly gel polish is translucent rather than fully opaque. Because light can pass through the color, multiple thin layers can create a glossy, glass-like appearance.
Together
You get:
Reflection + Transparency + Color + Depth
Instead of simply putting a magnetic line on top of a solid color, jelly layering lets you partially "tint" the effect underneath.
That's what makes this combination so interesting.
What You'll Need
For a basic cat eye + jelly manicure, you'll need:
- Nail prep products
- Base coat
- Cat eye gel polish
- Cat eye magnet
- Translucent jelly gel polish
- Glossy top coat
- Compatible UV/LED nail lamp
- Lint-free wipes and manicure tools
For the best result, use products according to their individual manufacturer instructions, especially for curing time and lamp compatibility.
You don't need a complicated nail-art kit. The effect comes mainly from color selection, layering and magnet control.
How to Create Cat Eye Jelly Nails

Step 1: Prep Your Nails
Start with clean, dry nails.
Gently prepare the nail surface according to your normal gel manicure routine, then apply your base coat as directed by the manufacturer.
Avoid getting uncured gel on the surrounding skin.
Step 2: Apply Your Cat Eye Gel Polish
Apply a thin, even layer of cat eye gel polish.
Don't try to create the strongest possible effect by applying a very thick coat.
Thicker gel layers can be more difficult to cure evenly, particularly with highly pigmented or glitter-containing formulas. Multiple thin layers are generally more reliable than one thick layer.
Step 3: Create the Magnetic Effect
Before curing, hold the magnet close to the nail surface without touching the gel.
Experiment with the angle and position of the magnet.
You can create:
- A centered cat eye
- A diagonal light streak
- A side-shifted glow
- A soft halo effect
- A more concentrated reflective band
The position and distance of the magnet can change the appearance of the magnetic streak, so this is the fun part: experiment before you cure.
Once you're happy with the effect, cure the layer according to the gel manufacturer's instructions.
Step 4: Add Your Jelly Layer
Now comes the part that changes the look completely.
Apply a thin layer of translucent jelly gel polish over the cured cat eye effect.
You can choose:
Clear Jelly
Creates a glass-like finish while keeping the original cat eye color visible.
Pink Jelly
Adds a soft, romantic tint.
Purple Jelly
Creates a deeper, jewel-toned appearance.
Red Jelly
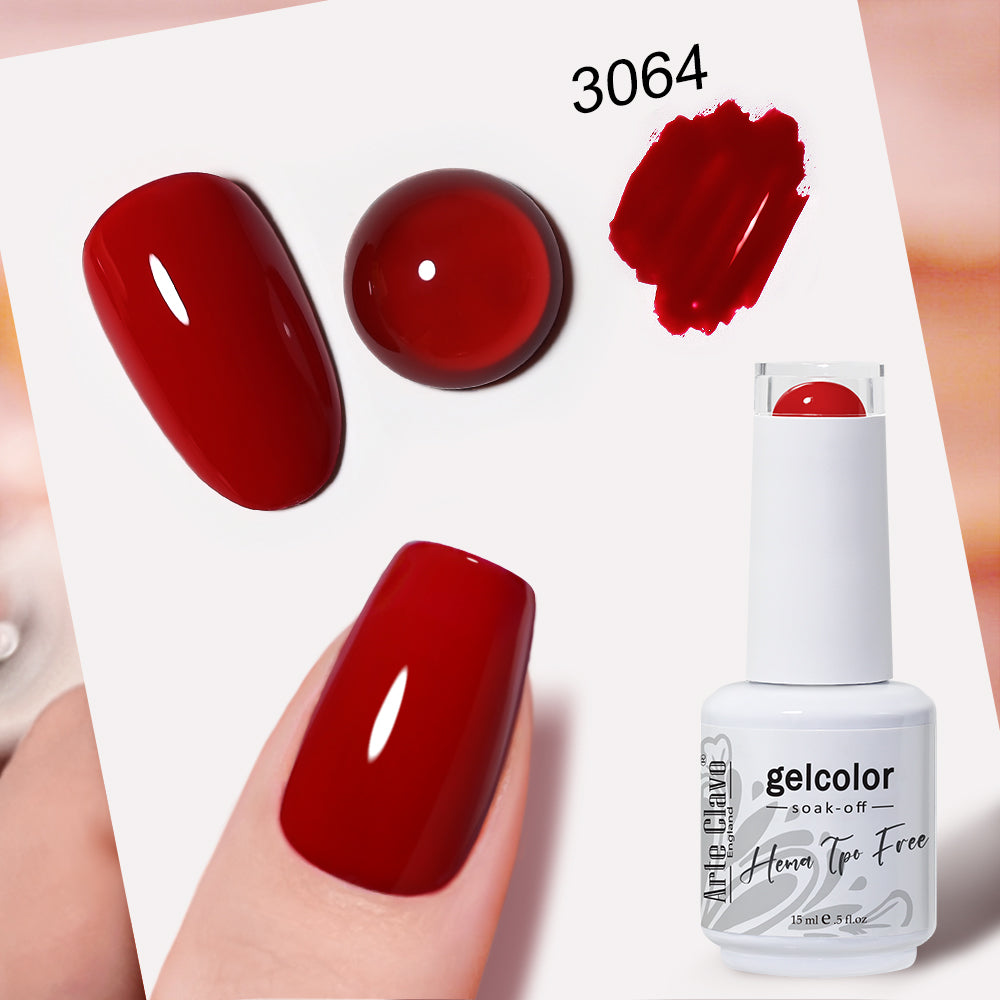
Turns the magnetic effect into a rich ruby-like manicure.
Blue Jelly
Creates a cooler, glassy look.
The key is transparency.
You don't want the jelly color to completely hide the magnetic effect underneath.
Step 5: Build the Color Slowly
Want more depth?
Add another thin jelly layer.
This is where jelly polish becomes especially versatile.
Instead of trying to achieve your final color in one coat, you can build the appearance gradually.
One jelly layer
Sheer + glossy + subtle
Two jelly layers
More saturated + more dimensional
Three or more layers
Deeper + richer + more dramatic
However, don't keep adding layers simply to make the color darker.
Every additional gel layer changes the total coating thickness, so follow the product's curing instructions and keep each application controlled and even. Proper curing depends on both layer thickness and compatibility between the gel and lamp.
Step 6: Finish With a Glossy Top Coat
Once you're happy with the color and depth, apply your top coat according to the product instructions.
A glossy finish helps emphasize the glass-like quality of jelly layering and makes the magnetic reflection underneath appear even more dimensional.
Cure according to the manufacturer's recommended time and lamp system.
The Best Cat Eye + Jelly Color Combinations
This technique is incredibly easy to customize.
Here are some combinations to try:
| Cat Eye Base | Jelly Layer | Final Effect |
|---|---|---|
| Burgundy / Red→ | Cherry Jelly → | Ruby-like |
| Deep Purple→ | Lavender Jelly → | Dreamy & mysterious |
| Silver→ | Pink Jelly → | Soft chrome glow |
| Blue→ | Clear Jelly → | Icy & glassy |
| Green→ | Aurora Jelly → | Mermaid-inspired |
| Gold→ | Amber Jelly → | Warm & luxurious |
| Black→ | Red Jelly → | Dark & dramatic |
| Silver Cat Eye→ | Blue Jelly → | Cool & futuristic |
Our favorite?
Deep Cat Eye + Sheer Jelly
The contrast between a concentrated magnetic highlight and transparent color creates the most dimensional result.

3 Ways to Change the Look
You don't have to use the same technique on every nail.
Look 1: Full Jelly Overlay
Apply the same jelly shade over every cat eye nail.
Best for:
Clean + glossy + sophisticated
Look 2: Gradient Jelly
Use a lighter jelly layer near the cuticle and a deeper shade toward the tip.
Best for:
A more dramatic, gemstone-inspired manicure
Look 3: Accent Nails
Apply the cat eye + jelly combination to one or two nails while keeping the remaining nails in a simple jelly or solid shade.
Best for:
Minimalist nail lovers
Sometimes one statement nail does more than ten complicated ones.
Why Your Cat Eye Effect May Look Blurry
If the magnetic line isn't as sharp as expected, check these factors.
1. Magnet Position
The magnet's distance and angle affect the shape and intensity of the magnetic streak.
2. Timing
The magnetic effect needs to be created while the gel is still workable.
Don't wait until the product starts to settle.
3. Gel Thickness
Avoid applying an unnecessarily thick layer.
Thick layers can also make curing more difficult.
4. Magnet Movement
Keep the magnet steady while you're creating the effect.
If you move it around too much, the reflective band can become less defined.
Why Does My Jelly Gel Look Cloudy?
A jelly manicure should look translucent and glossy.
If it looks cloudy, consider:
Too much product
Apply thinner layers.
Too many layers
More layers don't always mean more dimension.
Incompatible or incorrect curing
Use the lamp and curing schedule specified for the product.
Color combination
Some highly pigmented colors can visually overpower the magnetic effect underneath.
When layering translucent colors, start with one thin coat and build gradually.
A Quick Tip About Curing
One of the biggest mistakes with gel layering is assuming that a product is fully cured simply because the surface looks hard.
UV/LED curing depends on the product formula, layer thickness, pigment level, lamp wavelength and intensity. That's why following the manufacturer's curing instructions and using a compatible lamp is more important than relying on wattage alone.
For dark or highly pigmented gel colors, thin application becomes even more important because pigments can interfere with how deeply light penetrates the layer.
And always avoid skin contact with uncured gel.
Cat Eye Jelly Nails: The Easy Formula
If you want to remember only one thing, remember this:
1. Prep
Clean and prepare the nails.
2. Base
Apply and cure your base coat according to instructions.
3. Cat Eye
Apply a thin layer.
4. Magnet
Create your desired magnetic effect.
5. Cure
Follow the product's curing instructions.
6. Jelly
Add one thin translucent layer.
7. Build
Add another layer if you want more color depth.
8. Top Coat
Seal everything with a glossy finish.
That's it.
Cat Eye + Jelly = More Than Just a Trend
The beauty of this technique isn't that there is one "correct" result.
Move the magnet.
Change the base color.
Change the jelly shade.
Add another translucent layer.
Try the effect on only one nail.
The same two product categories can create completely different manicures.
That's why cat eye gel polish + jelly gel polish is such a useful combination for anyone who likes experimenting with nail color.
Final Takeaway
If you love glossy, dimensional manicures but don't want complicated nail art, try layering a translucent jelly gel over a magnetic cat eye base.
The cat eye gives you the light.
The jelly gives you the color.
The layering gives you the depth.
Start with thin layers, experiment with your magnet position, choose colors that allow the magnetic effect to remain visible, and always follow the curing instructions for your specific gel and lamp system.
Your nails don't need more decoration.
Sometimes, they just need more dimension.
Shop the Look
Ready to try the combination?
Explore Arte Clavo's gel polish collections:
Cat Eye Gel Polish
Magnetic gel colors for creating dimensional reflective effects.
Jelly Gel Polish
Translucent colors designed for glossy, buildable color and layered effects.
HEMA-Free & TPO-Free Gel Polish
Explore Arte Clavo's HEMA-free and TPO-free gel polish collection in a variety of colors and finishes.
→ Shop HEMA-Free & TPO-Free Gel Polish
Arte Clavo creates nail products for DIY nail lovers, nail enthusiasts and professionals who want more freedom to experiment with color, finish and nail art.