Introduction
Looking for a nail art design that is effortlessly chic, eye-catching, and surprisingly easy to achieve at home? Look no further than the layered dotted nail art. Whether you are a seasoned nail tech or a DIY manicure enthusiast, mastering the art of the perfect dot is a total game-changer.
In this quick tutorial, we are breaking down exactly how to create a satisfying, multi-colored geometric dot design using a simple dotting tool and four gorgeous gel polish shades. Let’s dive in!
What You’ll Need (Tools & Ingredients)
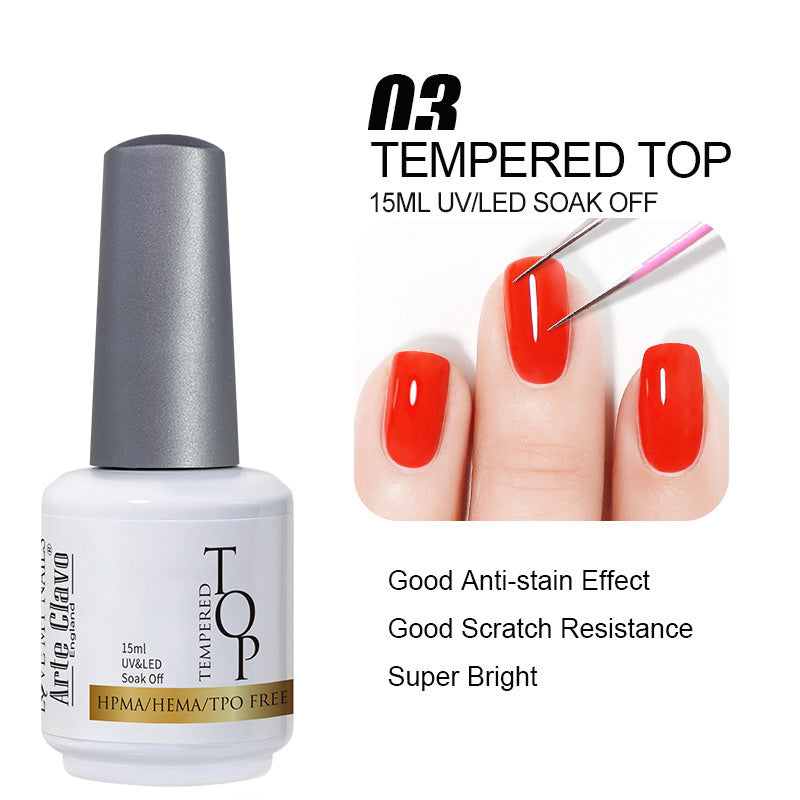
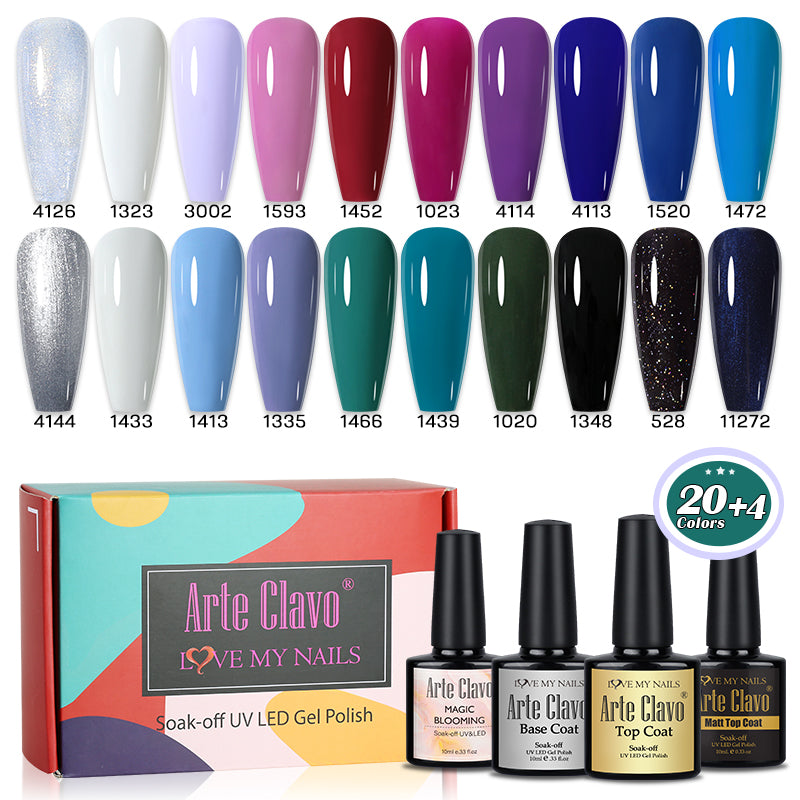
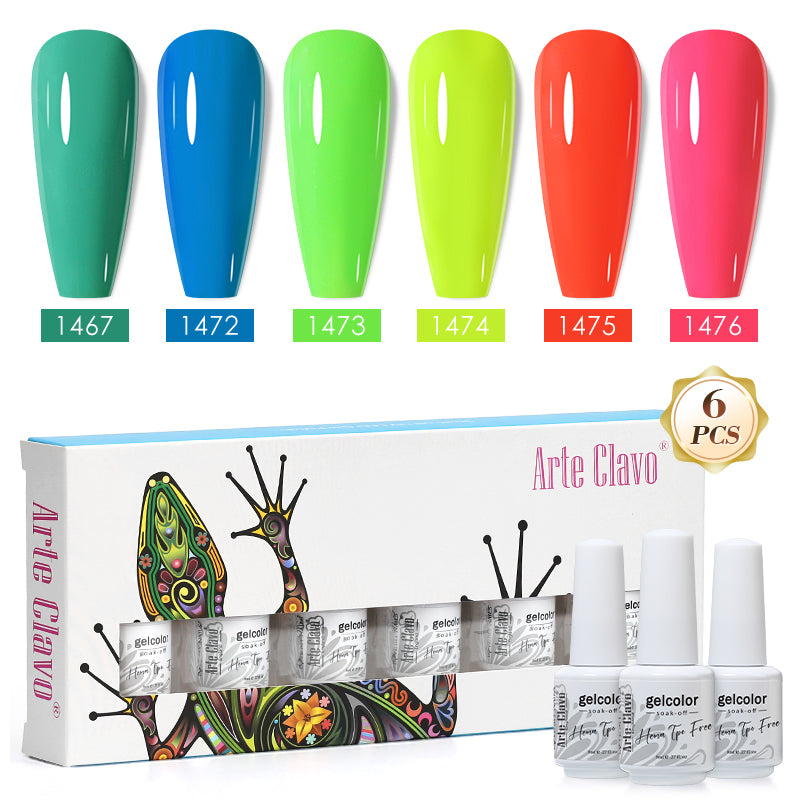
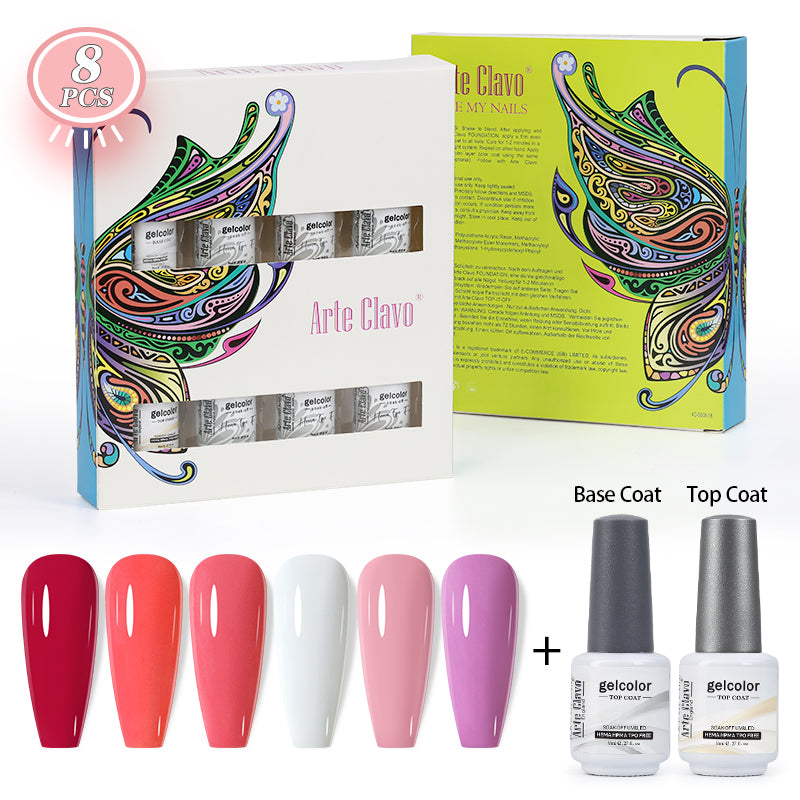
Before you start, make sure you have your nail setup ready. For this look, we recommend using high-quality, HEMA-free and TPO-free gel polishes to ensure a safe, long-lasting, and salon-quality finish.
-
A fine-tip Nail Dotting Tool
-
UV/LED Nail Lamp
-
Base Coat & Top Coat
-
The Color Formula Used in Our Video:
-
🩵 Color #3020: A refreshing Light Sky Blue (used for the framing border)
-
💛 Color #3024: A vibrant, sunny Yellow
-
🩷 Color #3033: A soft, romantic Pastel Pink
-
💜 Color #2081: A rich, deep Royal Purple
-
Step-by-Step Tutorial: The Perfect Dotted Nails
Step 1: Prep and Base
Prep your nails as usual by shaping, buffing, and applying a clean white base coat (or any solid background color of your choice). Cure completely under your LED lamp.
Step 2: Frame the Nail
Dip your nail dotting tool into Color #3020 (Sky Blue). Gently tap along the outer edges and the tip of the nail to create a clean, uniform dotted border. This frames the nail beautifully and sets the stage for the inner design.
Step 3: Layer the Colors (Top to Bottom)
Clean your dotting tool, and get ready to fill in the center with perfectly aligned vertical rows:
-
The First Row: Use Color #3024 (Yellow) to stamp two columns of dots starting right below the top border.
-
The Second Row: Clean your tool, switch to Color #3033 (Pink), and add the next block of dots right underneath the yellow ones.
-
The Third Row: Finish the center alignment with Color #2081 (Purple) at the bottom section of the nail.
💡 Pro Tip: Make sure to wipe your dotting tool clean with a lint-free wipe dipped in alcohol every time you switch colors to keep the shades perfectly crisp and unblended!
Step 4: Seal with Top Coat
Once you are happy with your dot placement, pop your hand into the UV/LED lamp for a full cure. Finish the look with a generous layer of glossy Top Coat to protect your masterpiece, smooth out the texture of the dots, and give it that ultimate salon shine. Cure one last time!
3 Quick Tips for Flawless Nail Art Dots
-
Control the Pressure: For perfectly round and even dots, press the tool straight down onto the nail and lift it straight up. Don't drag it!
-
Watch the Gel Quantity: Don't overload your dotting tool. Pick up just enough gel to form a tiny bead on the ball tip. If you need bigger dots, use a larger dotting tool rather than more polish.
-
Fix Mistakes Easily: If a dot goes askew, simply wipe it away with a clean brush dipped in rubbing alcohol before you cure it, and try again!
Conclusion
And there you have it! A satisfying, colorful, and completely trendy dotted nail design that is perfect for any season. The best part? You can mix and match any color combos to fit your personal style—from Dark Academia neutrals to vibrant Y2K pastels.
Which color combination are you going to try next? Browse our full collection of vibrant, safe-formula gel polishes to find your perfect shades, and don't forget to tag us in your recreations!