Nothing says elegance quite like a touch of gold paired with rich, velvety tones. If you’re looking to elevate your next manicure with a design that looks high-end but is surprisingly simple to achieve, this Marbled Chocolate Heart look is the perfect choice.
In this tutorial, we will break down the exact steps and techniques used in our latest viral video, so you can recreate this sweet, textured look at home or in the salon.
🛍️ What You’ll Need
Before starting, make sure you have the following products ready:
-
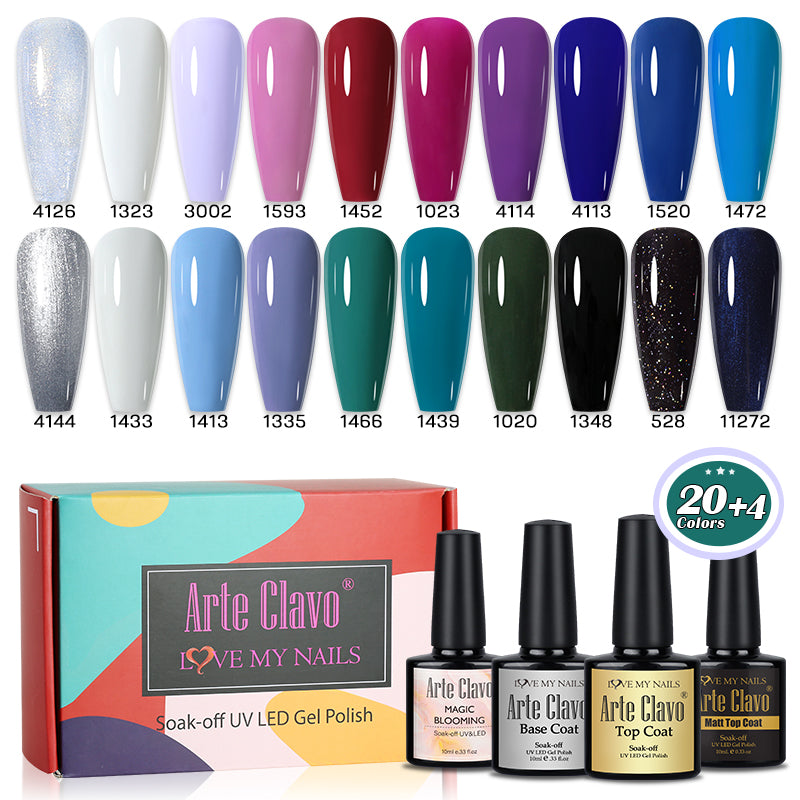
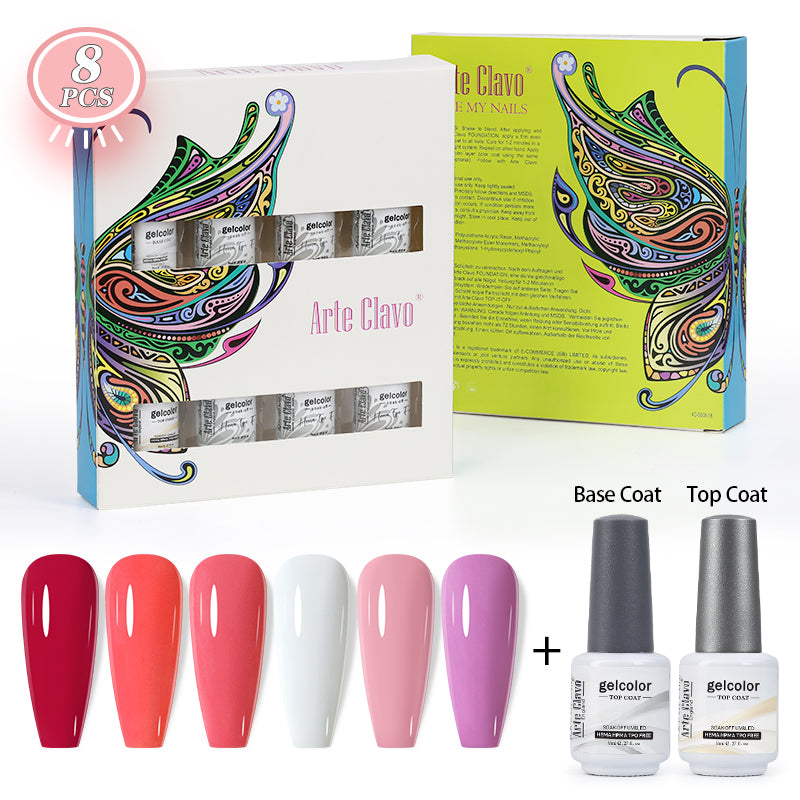
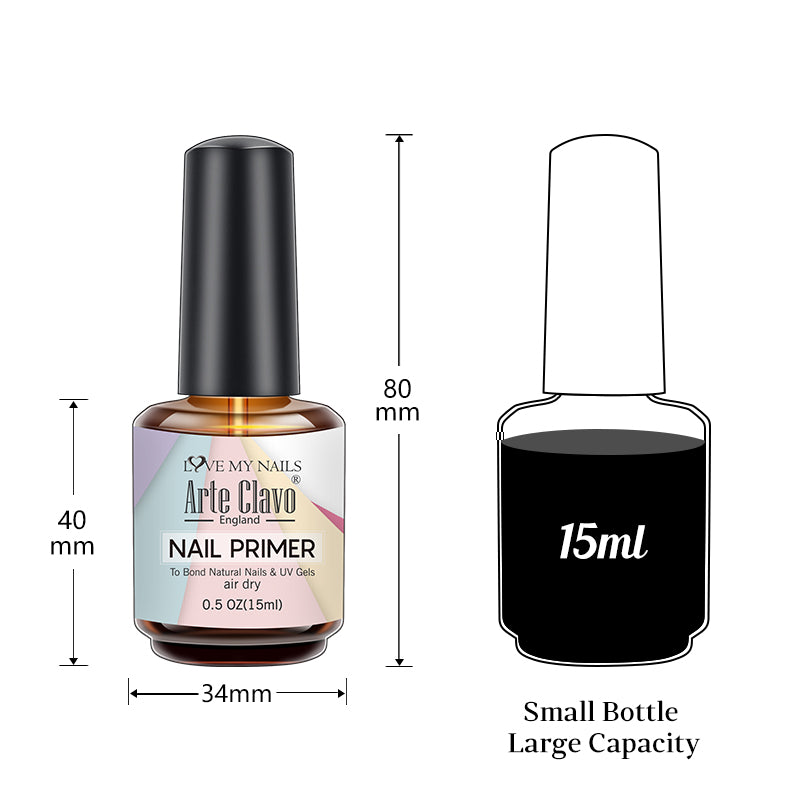
Base Gel Polish: Arte Clavo Shade #1405 (A clean, elegant milky white/nude)
-
Heart Framing: 3D Micro Gold Beads & Nail Tweezers
-
Marbling Gel Polish: Arte Clavo Shades #2032 (Deep Chocolate Brown) & #1323 (Creamy White)
-
Tools: A Fine Liner Nail Art Brush
-
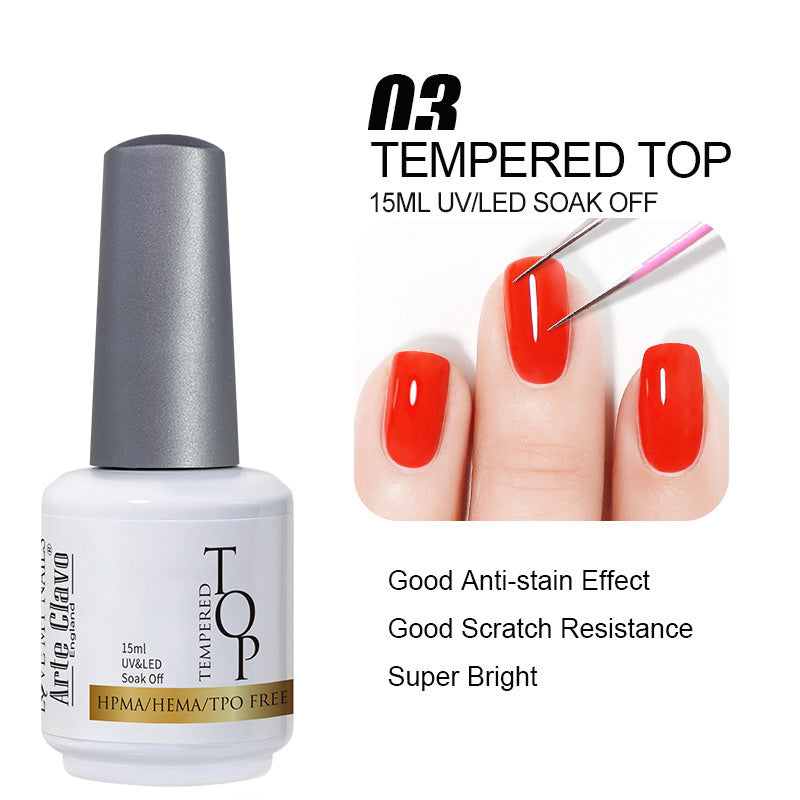
Finish: Glossy Top Coat & UV/LED Nail Lamp
👩🎨 Step-by-Step Tutorial
Step 1: Prep and Base Color
Apply a smooth, even layer of Arte Clavo Shade #1405 across the entire nail. This milky, neutral base acts as the perfect canvas, making the central heart design truly pop. Cure under your UV/LED lamp.
Step 2: Frame the Heart with Gold Beads
Apply a thin layer of base coat or rhinestone glue in the center of the nail (do not cure yet). Using your tweezers, carefully arrange the Gold Beads one by one to outline a perfect heart shape. Once you are happy with the shape, cure it to lock the beads into place.
Step 3: Layer the Chocolate Stripes
Using a fine liner brush, dip into shade #2032 (dark brown) and shade #1323 (white). Paint alternating diagonal stripes inside the gold bead heart.
💡 Important: Do not cure the polish yet! The gel needs to remain wet for the next step.
Step 4: Work the Marble Magic
Take a clean fine liner brush and gently drag it vertically (up and down) through the wet stripes. This dragging motion seamlessly blends the brown and white together, creating that effortless, high-end chocolate swirl effect. Once perfected, cure immediately.
Step 5: Seal and Protect
Finish the look by applying a generous layer of Glossy Top Coat over the entire nail, ensuring you coat around the gold beads to secure them. Cure for a final 60 seconds, and you're done!
💡 Pro Tips for a Flawless Finish
-
Don't Rush the Marble: When dragging your liner brush to create the marble effect, use a very light hand. Pushing too hard will scrape the polish off to the base layer.
-
Secure Those Beads: To prevent the gold beads from catching on clothes or hair, use a thin liner brush to apply a tiny bit of top coat or gel glue right around the outer edges of the heart before your final top coat.
❓ Frequently Asked Questions
Q: Can I use different colors for the marbled center?
A: Absolutely! While the chocolate look is a classic, you can swap shades #2032 and #1323 for pinks and reds for a Valentine's Day vibe, or black and gold for a gothic luxury aesthetic.
Q: Why is my marble effect blending into one messy color?
A: This usually happens if you drag the brush back and forth too many times. Try to make clean, single-direction strokes and wipe your brush clean between each drag.
✨ Shop the Look!
Ready to try this look yourself? Click the links below to grab the exact shades and tools used in this tutorial and start creating!