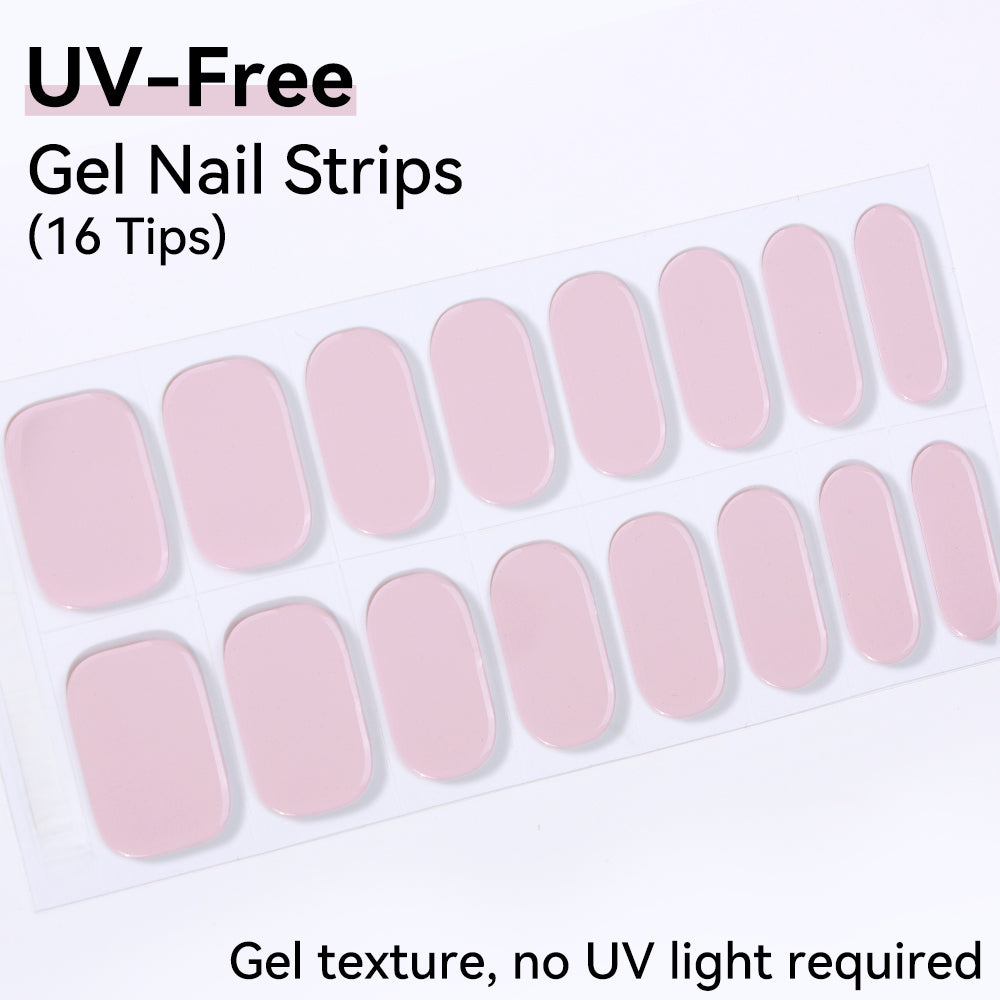

Spring is the perfect excuse to change your nail color.
But spring nails don't have to mean the same pastel pink manicure every year.
For 2026, spring nail art is leaning into soft color, translucent finishes, delicate details, subtle dimension, and light-reflective effects.
Think:
🌷 Tiny floral details
🌅 Soft ombré
💎 Minimal crystal accents
🔲 Clean negative space
💧 Sculpted 3D details
✨ Iridescent layers
The best part?
You don't need an advanced nail-art studio to experiment with many of these looks.
In this guide, we'll break down 6 spring nail art ideas for 2026, including the colors, techniques, tools, and difficulty level for each design.
Whether you're creating your nails at home or looking for your next salon inspiration, save this guide for your next manicure.
1. Micro Floral Nails
🌷 Tiny Flowers, Minimal Details
Floral nails are a spring classic, but you don't need large flowers covering every nail.
One of the easiest ways to make floral nail art feel more modern is to make the flowers smaller and the design more minimal.
Think tiny petals placed on a sheer or soft-colored base.
The result is delicate without looking overly decorative.
Best colors
Try combining:
- Soft pink
- Lilac
- Butter yellow
- Milky white
- Sheer nude
- Soft green
What you'll need
- Sheer or nude gel polish
- A fine nail-art brush
- Dotting tool
- Floral colors
- Glossy top coat
How to create it
Step 1: Apply your base coat and cure according to the manufacturer's instructions.
Step 2: Apply your chosen base color and cure.
Step 3: Use a fine brush or dotting tool to create tiny petals.
Step 4: Add a small center to each flower.
Step 5: Cure your design.
Step 6: Finish with a glossy top coat.
Beginner tip
Don't try to make every flower identical.
Small variations can actually make the manicure look more natural.
If you're new to nail art, start with one or two flowers per nail rather than covering the entire surface.
Difficulty: ⭐⭐⭐☆☆

2. Soft Spring Ombré Nails
🌅 A Diffused Gradient Instead of a Hard Line
Ombré nails work beautifully for spring because they allow multiple soft colors to blend together.
Instead of creating a strong color contrast, try pairing shades that are close in tone.
For example:
Pink → Peach
Lavender → Milky White
Mint → Pale Blue
Peach → Cream
The result is soft, airy, and easy to wear.
Best colors
For a classic spring ombré, try:
- Peach
- Baby pink
- Lavender
- Mint
- Butter yellow
- Milky white
How to create it
Step 1: Apply a suitable base coat and cure.
Step 2: Apply your lighter base shade.
Step 3: Add your second color near the area where you want the gradient.
Step 4: Use a suitable sponge or nail-art brush to soften the transition.
Step 5: Cure and repeat with thin layers if more color depth is needed.
Step 6: Apply a glossy top coat.
Beginner tip
Don't try to create the entire gradient in one thick layer.
Thin layers + gradual blending give you much more control.
Difficulty: ⭐⭐☆☆☆

3. Minimal Crystal & Pearl Nails
💎 A Little Sparkle Goes a Long Way
Spring nail art doesn't have to be completely matte or minimal.
A few carefully placed crystals or pearls can add dimension without overwhelming the manicure.
Instead of covering every nail with embellishments, try placing:
- One crystal on each nail
- A small cluster near the cuticle
- A pearl accent on one or two nails
- Tiny crystals around a floral design
- A single statement stone on an accent nail
Best base colors
Crystal details look especially elegant over:
- Sheer pink
- Milky white
- Nude
- Pale lavender
- Soft peach
- Translucent jelly shades
How to create it
Step 1: Complete your base color.
Step 2: Apply a suitable nail-art adhesive gel or builder gel where the embellishment will sit.
Step 3: Place your crystal or pearl using a wax pencil or nail-art tool.
Step 4: Cure according to the product instructions.
Step 5: Secure the embellishment appropriately without covering the reflective surface of the stone.
Pro tip
You don't need more crystals.
You need better placement.
A simple design with one intentional accent can look much more polished than a nail covered in random decorations.
Difficulty: ⭐⭐☆☆☆

4. Modern Negative Space Nails
🔲 Clean Lines + Bare Nail = Effortlessly Modern
Negative space nail art leaves part of the natural nail visible.
That makes it one of the easiest ways to create a sophisticated design without using a lot of color.
For spring, try combining a sheer base with:
- White lines
- Soft pink curves
- Lavender details
- Abstract green shapes
- Minimal French tips
Simple design idea
Try this:
Sheer nude base + two curved pastel lines
That's it.
The natural nail becomes part of the design.
How to create it
Step 1: Prepare your nails and apply a suitable base.
Step 2: Apply a sheer or translucent base color if desired.
Step 3: Use a fine liner brush to create your design.
Step 4: Cure once the design is complete.
Step 5: Finish with top coat.
Beginner tip
If freehand lines are difficult, nail-art striping tape or stencils can help you create cleaner shapes.
Difficulty: ⭐⭐☆☆☆

5. Dewdrop & 3D Gel Nails
💧 Add Dimension to Your Spring Manicure
If you want something more creative, try adding small 3D details.
For spring 2026, organic shapes work particularly well:
- Dewdrops
- Water droplets
- Raised flowers
- Soft waves
- Sculpted petals
- Tiny raised dots
The key is controlled dimension.
You don't need to create a completely sculpted nail.
One or two raised details can be enough.
Best colors
Try:
- Clear
- Soft blue
- Lavender
- Milky white
- Pale green
- Translucent pink
How to create a dewdrop effect
Step 1: Complete your base manicure.
Step 2: Apply a small amount of suitable 3D or builder gel where you want the raised detail.
Step 3: Shape the gel carefully.
Step 4: Cure according to the manufacturer's instructions.
Step 5: Repeat if additional dimension is needed.
Important tip
Don't make every detail the same size.
Different-sized droplets can create a more natural, organic effect.
Difficulty: ⭐⭐⭐⭐☆

6. Iridescent & Pearlescent Spring Nails
✨ Let the Light Do the Work
If you're not interested in complicated nail art, this may be the easiest trend to try.
Iridescent and pearlescent finishes can transform a simple manicure without requiring advanced painting skills.
Instead of a flat color, the nails shift subtly as they catch the light.
Best base colors
Try:
- Milky white
- Soft pink
- Sheer nude
- Lavender
- Pale blue
- Translucent peach
How to create the look
Start with a smooth base color.
Then add your chosen pearlescent or iridescent effect according to the product's application instructions.
Finish with a compatible glossy top coat to enhance the reflective finish.
Pro tip
Keep the base relatively soft.
A highly saturated base can overpower a delicate iridescent effect.
Difficulty: ⭐☆☆☆☆

Which Spring Nail Design Should You Try?
Not sure which look fits you?
Here's a quick guide.
| Nail Design | Difficulty | Best For |
|---|---|---|
| Micro Floral | ⭐⭐⭐☆☆ | Delicate nail art |
| Soft Ombré | ⭐⭐☆☆☆ | Beginners |
| Crystal & Pearl | ⭐⭐☆☆☆ | Minimal sparkle |
| Negative Space | ⭐⭐☆☆☆ | Modern minimalist nails |
| 3D Dewdrops | ⭐⭐⭐⭐☆ | Advanced nail art |
| Iridescent Nails | ⭐☆☆☆☆ | Easy everyday nails |
If you're a beginner, start with:
Iridescent → Ombré → Negative Space
If you already have some nail-art experience:
Micro Floral → Crystal Details
And if you want a statement manicure:
3D Gel Art
Spring Gel Polish Colors to Try
The easiest way to create a spring manicure isn't necessarily to buy a completely new nail-art kit.
Start with a small color palette.
Soft Pink
Perfect for:
- Floral designs
- French nails
- Jelly manicures
- Minimalist nails
Peach
Works beautifully with:
- Pink
- Cream
- Nude
- Gold accents
Lavender
Great for:
- Negative space
- Floral nail art
- Iridescent finishes
Mint Green
A fresh alternative to traditional spring pink.
Milky White
One of the most versatile spring bases.
Use it underneath:
- Pastels
- Ombré
- Pearlescent effects
- Floral nail art
Sheer Nude
Perfect when you want the nail art to be the main focus.
How to Make Spring Gel Nail Art Last Longer
A beautiful design doesn't mean much if it starts lifting after a few days.
Good application habits matter.
1. Prepare the nail properly
Start with clean, dry nails and follow your gel system's preparation instructions.
2. Apply thin layers
Thin, controlled layers are easier to cure consistently than unnecessarily thick layers.
3. Keep gel away from the skin
Avoid getting uncured gel on the surrounding skin.
If accidental contact occurs, clean it up before curing.
4. Use a compatible lamp
Use the curing system recommended for your gel products.
Don't assume that a higher wattage automatically means better curing.
5. Cure according to instructions
Follow the manufacturer's recommended curing time.
6. Finish with a suitable top coat
A compatible glossy or matte top coat can help protect the finished design.
7. Remove the manicure properly
Don't peel or force the gel off.
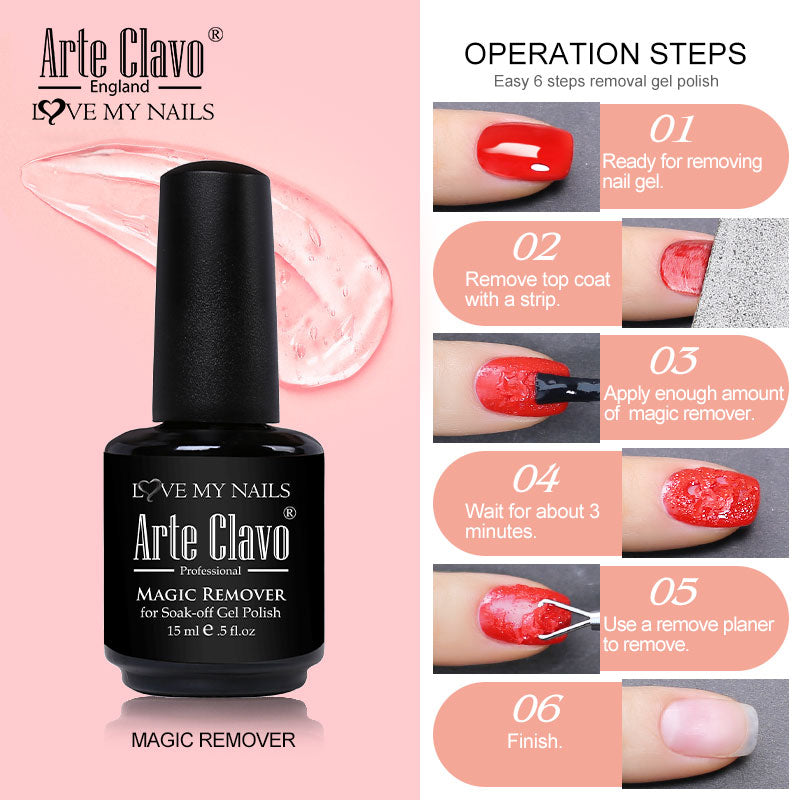
Use the recommended removal method for your product.
Spring Nail Art for Short Nails
You don't need long nails to wear spring nail art.
Short nails work especially well with:
Minimal Florals
Place one tiny flower near the side of each nail.
Micro French
Use a thin pastel line instead of a traditional white French tip.
Negative Space
Let part of the natural nail become part of the design.
Jelly Colors
Translucent pink, peach, and lavender can create a clean glossy effect.
Pearl Accents
One small pearl on a short nail can create enough detail without making the design feel crowded.
If you have short nails, remember:
Small details usually work better than trying to fit a large design onto a small surface.
Easy Spring Nail Art for Beginners
If you're doing your own nails for the first time, don't start with the most complicated design.
Try this simple combination:
Step 1
Apply a sheer pink or nude gel base.
Step 2
Add one small flower to your accent nails.
Step 3
Add a tiny pearl or crystal to the flower center.
Step 4
Cure each layer according to the product instructions.
Step 5
Finish with a glossy top coat.
The result is:
Simple + feminine + spring-ready
without requiring advanced nail-art skills.
How to Build Your Own Spring Nail Color Palette
You don't need ten different colors.
A simple five-color palette can create dozens of combinations.
Try:
1 Base: Milky White or Sheer Nude
2 Main Colors: Pink + Lavender
1 Accent: Mint or Peach
1 Detail Color: White
From that small palette, you can create:
- Floral nails
- Ombré
- French tips
- Negative space
- Abstract lines
- Layered nail art
This is also a great way to avoid buying colors that you'll only use once.
Spring Nail Art Ideas You Can Mix & Match
One of the easiest ways to create a unique manicure is to combine two trends rather than trying to recreate an entire design.
Try:
🌷 Micro Floral + Jelly Base
A translucent pink base with tiny white flowers.
✨ Pearlescent + French Tips
Milky pearlescent nails with soft pastel tips.
💧 3D Dewdrops + Sheer Blue
A translucent blue base with small raised droplets.
💎 Negative Space + Crystal Accent
Clean lines with one small crystal on the accent nail.
🌅 Ombré + Micro Floral
A soft pink-to-lavender gradient with tiny flowers.
The key is to let one element be the star.
If everything is shiny, colorful, textured, and 3D at the same time, the design can quickly become visually crowded.
Frequently Asked Questions About Spring Nail Art
What nail colors are trending for spring 2026?
Soft pink, peach, lavender, mint, milky white, sheer nude, and iridescent finishes are versatile choices for spring-inspired manicures.
Rather than focusing on one "must-have" color, try combining soft colors with translucent or reflective finishes.
What is the easiest spring nail design for beginners?
Iridescent nails, simple pastel French tips, and soft ombré are good starting points because they don't require advanced hand-painting skills.
What are the best spring nail colors for short nails?
Soft pink, peach, lavender, nude, milky white, and translucent jelly shades work especially well on short nails.
How can I make my spring nail art last longer?
Use proper nail preparation, apply thin layers, keep uncured gel away from the skin, use a compatible curing system, cure according to instructions, and remove the manicure properly.
Can I do spring nail art with gel polish at home?
Yes. Many spring designs can be recreated at home with gel polish, a compatible lamp, a few basic nail-art tools, and practice.
Start with simple designs before moving to detailed floral or 3D work.
What tools do I need for spring nail art?
For most beginner designs, you can start with:
- Fine liner brush
- Dotting tool
- Nail-art sponge
- Tweezers or wax pencil
- Base coat
- Gel polish
- Top coat
You don't need every nail-art tool to get started.
Your Spring Nail Art Checklist
Before you start your next manicure:
✓ Choose a simple color palette
✓ Pick one main design
✓ Prepare your nails properly
✓ Apply thin layers
✓ Keep uncured gel away from the skin
✓ Cure according to the product instructions
✓ Add details gradually
✓ Finish with a compatible top coat
✓ Remove the manicure gently
And most importantly:
Don't try to make every nail look complicated.
Sometimes the prettiest spring manicure is simply a beautiful color with one tiny detail.
Ready to Try Your Next Spring Nail Look?
Spring nail art doesn't have to be complicated.
Start with a soft color.
Add one detail.
Experiment with texture, translucency, or shine.
Then make the design your own.
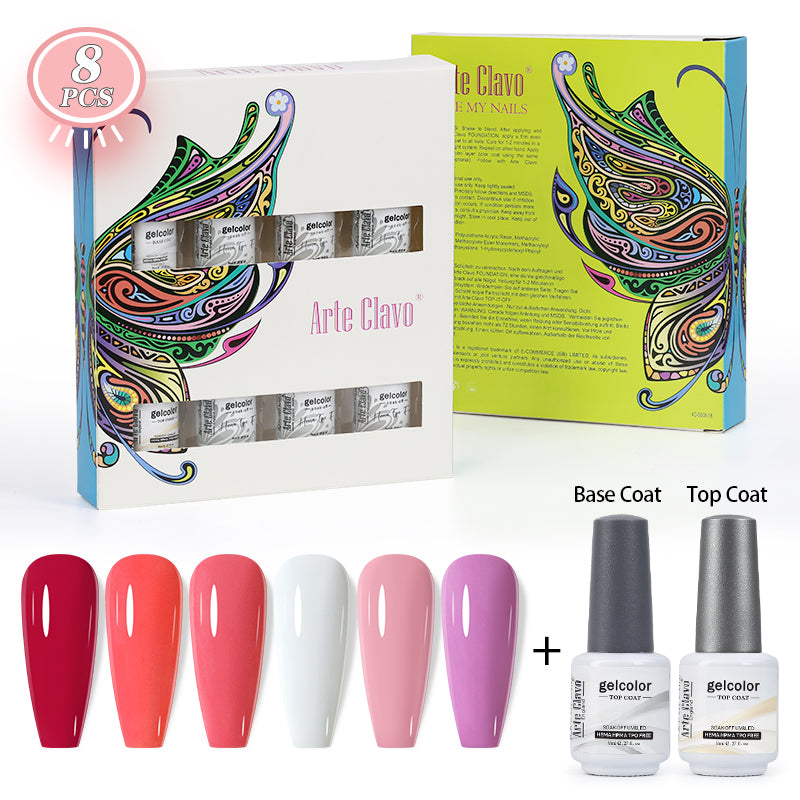
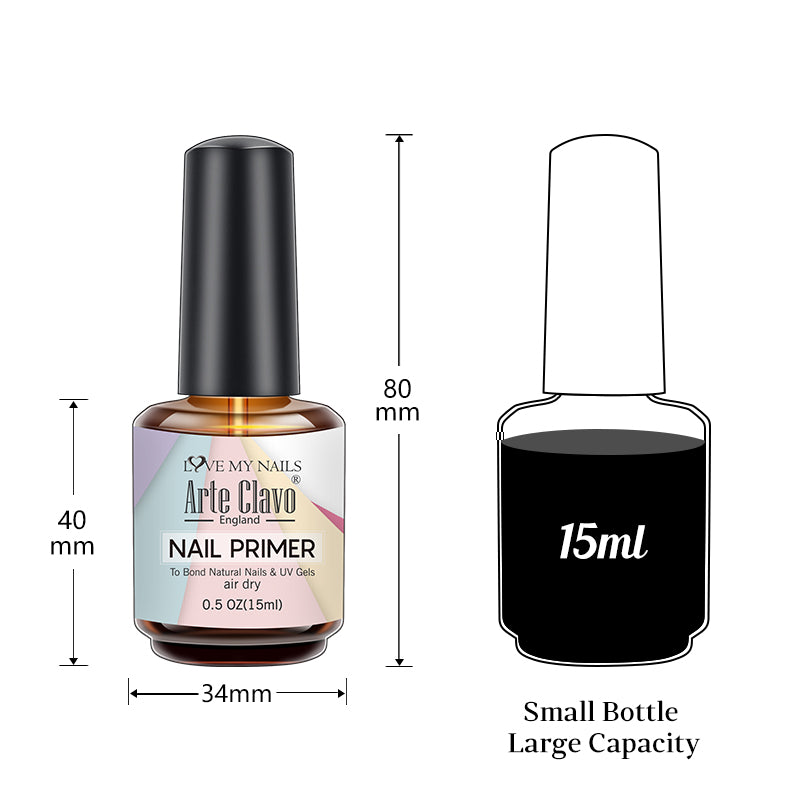
Whether you prefer delicate florals, soft pastel ombré, minimalist negative space, glossy jelly colors, or pearlescent finishes, Arte Clavo gives you the colors and nail essentials to experiment with your next manicure.
Explore Arte Clavo
Shop HEMA/TPO-Free Base & Top Coats →