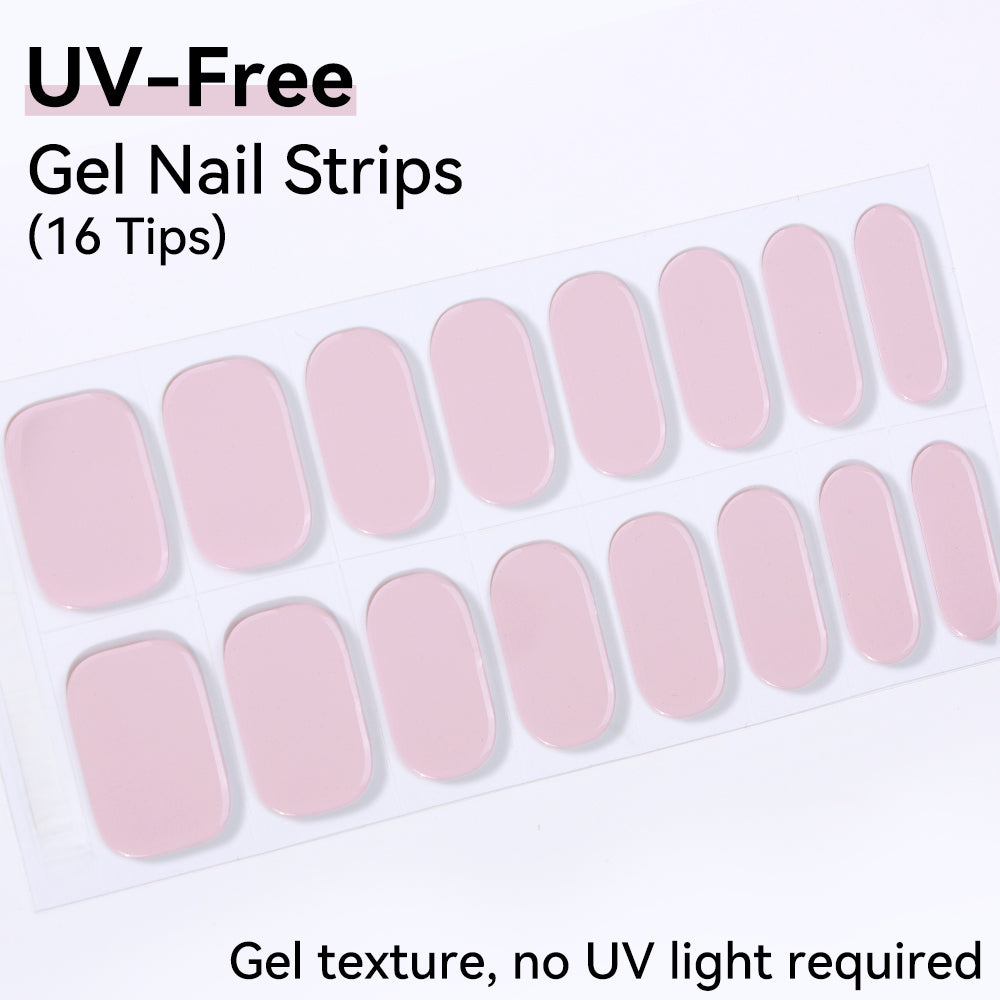

Jelly gel polish looks simple, but getting the exact finish you want can be surprisingly tricky.
Should you use one coat or three?
Can you make jelly polish more opaque?
Does jelly gel polish work on short nails?
How do you get that smooth, glass-like finish?
And can you mix gel colors to create your own jelly shades?
If you've ever searched for one of these questions, you're not alone.
This guide answers the most common jelly gel polish questions with simple, practical tips you can use at home.
1. How Many Coats of Jelly Gel Polish Should You Use?
Most jelly gel polishes can be applied in one to three thin coats, depending on the level of transparency and color depth you want.
One coat
One coat gives you the most translucent result.
It's ideal when you want:
- A subtle tint
- A natural-looking manicure
- A soft wash of color
- A minimalist jelly finish
Two coats
Two coats create more visible color while keeping the translucent quality of jelly polish.
For many jelly shades, this is the sweet spot between sheer and saturated.
Three coats
Three thin coats create a deeper, richer jelly effect.
The color becomes more noticeable while still allowing some light to pass through.
The key is not the number of coats.
It's the thickness of each coat.
Always apply thin layers and cure each layer according to the product manufacturer's instructions.
Quick answer: Start with one thin coat, check the transparency, and build the color gradually until you reach your preferred depth.
2. How Do You Make Jelly Nails More Opaque?
The easiest way to make jelly nails more opaque is to build the color gradually with additional thin coats.
Instead of applying one thick coat, apply another thin layer and cure it properly.
For example:
1 coat → sheer
2 coats → translucent
3 coats → deeper and more saturated
However, not every jelly formula is designed to become fully opaque.
Some jelly polishes are intentionally formulated to maintain a translucent appearance even after multiple coats.
If you want stronger color without losing the jelly effect, you can also experiment with a suitable base color underneath.
For example:
- White base + pink jelly = brighter pink
- Nude base + peach jelly = warm, soft peach
- Pink base + red jelly = deeper cherry effect
Always make sure the products and curing system you're using are compatible.
3. Can You Use Jelly Nail Polish on Short Nails?
Yes. Jelly nail polish looks great on short nails.
In fact, the translucent finish can make short nails look clean, glossy, and polished without needing a long nail shape.
Jelly colors work especially well with:
- Short square nails
- Rounded short nails
- Short oval nails
- Natural nail shapes
For a simple short-nail manicure, try:
One coat of baby pink jelly + glossy top coat
or
Two coats of peach jelly + glossy top coat
The result is subtle, clean, and easy to wear.
Pro tip
Because jelly polish is translucent, the natural nail underneath can remain visible.
That means nail preparation matters.
Keep the nail shape even and the surface clean before application.
4. How Do You Get a Glass-Like Jelly Nail Finish?
A glass-like jelly finish comes from combining thin layers, a smooth application, and a high-gloss top coat.
Try this:
Step 1: Create a smooth base
Shape your nails and prepare the surface according to your gel system's instructions.
Step 2: Apply a thin base coat
Keep the product away from the surrounding skin.
Cure according to the manufacturer's instructions.
Step 3: Build the jelly color
Apply one thin coat of jelly gel polish.
Cure.
Apply a second thin coat if you want more depth.
Cure again.
Step 4: Finish with gloss
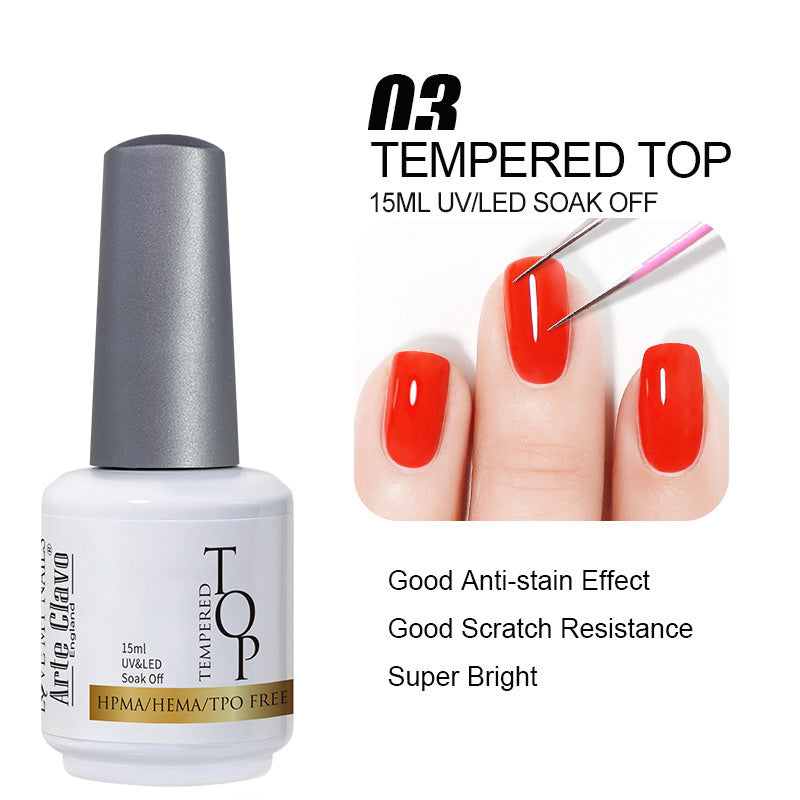
Apply a compatible high-gloss top coat and cure according to its instructions.
The top coat creates the final reflective surface that makes the color look more "glass-like."
The formula is only part of the result.
A glass-like manicure depends on:
Smooth nail surface + thin application + proper curing + glossy top coat
5. How Long Does Jelly Gel Polish Last?
A properly applied jelly gel manicure can often remain wearable for around two to three weeks, although actual wear time varies.
Factors that can affect longevity include:
- Nail preparation
- Application technique
- Product formula
- Curing
- Nail growth
- Daily activities
- Water exposure
- Removal technique
If your jelly manicure starts lifting after only a few days, don't automatically assume the color is the problem.
Check your preparation and application first.
Common causes of early lifting
- Gel touching the surrounding skin
- Too much product
- Inadequate preparation
- Incorrect curing
- Incompatible products
- Picking or peeling the manicure
6. Can You Mix Gel Polish to Create a Jelly Effect?
Yes, but you should be careful about what you mix.
The safest approach is to use a gel product specifically designed to create translucent or jelly effects.
If you're mixing gel colors, use products that are intended to be compatible.
Avoid randomly mixing gel polish with base coat, top coat, or other products simply to make the color more transparent unless the manufacturer specifically recommends that technique.
Why?
Changing the formulation can affect:
- Curing
- Adhesion
- Color consistency
- Wear
- Overall product performance
A simpler option
If you want a jelly effect, start with a ready-made jelly gel polish.
You get the translucent finish without having to experiment with the formula.
7. Why Does My Jelly Gel Polish Look Too Sheer?
If your jelly manicure looks almost invisible after one coat, that may be completely normal.
Jelly polish is designed to be translucent.
If you want more color:
Add another thin coat → cure → check the result.
Don't immediately apply a thick layer.
Building the color gradually gives you much more control.
8. Why Does My Jelly Gel Polish Look Too Dark?
Jelly colors can look different depending on:
- Number of coats
- Nail length
- Natural nail color
- Base color underneath
- Lighting
- Product thickness
If your color looks darker than expected, try fewer coats next time.
For a softer result, one thin coat may be enough.
For a richer result, build additional layers.
That's one of the main advantages of jelly gel polish:
You control the color intensity.
9. Can You Put Jelly Gel Polish Over Another Color?
Yes.
Layering jelly gel polish over another compatible gel color can create completely different effects.
For example:
White + Pink Jelly
Creates a soft, milky pink effect.
Nude + Peach Jelly
Creates a warm, glossy nude.
Red + Cherry Jelly
Creates a deeper, high-shine red.
Lavender + Purple Jelly
Creates a dimensional purple effect.
This technique is especially useful when you want to create custom-looking shades without buying dozens of colors.
Always make sure the products you're layering are compatible and follow the curing instructions for each layer.
10. Can You Use Jelly Gel Polish for French Nails?
Absolutely.
Jelly gel polish works particularly well for modern French manicures.
Instead of using an opaque nude base, try:
Sheer pink jelly base + white French tip
or:
Peach jelly base + soft white tip
The translucent base gives the French manicure a softer, more dimensional appearance.
You can also reverse the look:
White jelly base + colored French tip
for something more playful.
11. Is Jelly Gel Polish Good for Nail Art?
Yes.
Its transparency makes jelly gel polish especially useful for layered nail art.
You can use jelly colors to create:
- Layered flowers
- Translucent gradients
- Jelly French tips
- Tinted chrome effects
- Color overlays
- Watercolor-inspired designs
- Layered abstract nail art
The advantage is that each transparent layer can remain visible underneath the next.
This creates depth that opaque polish can't always achieve.
12. Can You Create a Jelly Gradient With Gel Polish?
Yes.
A jelly gradient can be created by blending translucent shades gradually rather than creating a hard color boundary.
One simple approach is:
- Apply a thin jelly base.
- Cure.
- Apply a lighter jelly shade over most of the nail.
- Add a slightly deeper shade toward the tip or desired gradient area.
- Blend carefully.
- Cure.
- Repeat with thin layers if more depth is needed.
- Finish with a glossy top coat.
Because jelly colors are translucent, the transition can look softer than a traditional opaque gradient.
13. Why Does My Jelly Gel Polish Look Streaky?
Streaking usually happens when the color is applied unevenly.
This is especially noticeable with translucent formulas because the natural nail remains visible underneath.
Try these tips:
Use less product.
A thick layer doesn't necessarily create a smoother result.
Keep your brush pressure consistent.
Too much pressure can pull product away from certain areas.
Allow the product to level before curing.
Give yourself enough time to create an even layer, but don't wait so long that the product begins moving into the cuticle area.
Build the color.
If the first coat looks slightly uneven, a second thin coat may even out the appearance.
14. Why Does My Jelly Gel Polish Look Bumpy?
A bumpy jelly manicure is often caused by uneven product application.
Because jelly polish is translucent, texture can be more visible than with opaque colors.
Check:
- Nail surface preparation
- Product thickness
- Brush application
- Product pooling around the cuticle
- Whether the nail is properly leveled
Apply thin layers and avoid allowing gel to pool around the edges.
If the nail surface itself has significant ridges, jelly polish may make them more noticeable.
15. Can Jelly Gel Polish Cover Nail Imperfections?
Not particularly well.
In fact, because jelly polish is translucent, it can make some natural nail imperfections more visible.
If you have:
- Strong ridges
- Uneven texture
- Staining
- Significant discoloration
a more opaque gel color may provide better visual coverage.
Alternatively, a suitable base product may help create a more even surface before applying your jelly color.
Don't over-buff the natural nail just to make it look smoother.
16. Does Jelly Gel Polish Work on Natural Nails?
Yes.
Jelly gel polish can be applied to natural nails when used with a compatible base coat and curing system.
The basic sequence is:
Natural nail → Base coat → Jelly gel polish → Top coat
The most important part is proper preparation and application.
Keep uncured gel away from the surrounding skin and follow the manufacturer's curing instructions.
17. Can You Use Jelly Gel Polish on Extensions?
Yes.
Jelly gel polish can be used over compatible nail extensions and enhancement systems.
The translucent finish can be especially attractive over:
- Clear extensions
- Transparent tips
- Neutral extensions
- Sculpted enhancements
Clear or translucent bases can enhance the dimensional quality of jelly colors.
However, always make sure the gel polish is compatible with the underlying nail system.
18. What Is the Difference Between Jelly Gel Polish and Regular Gel Polish?
The main difference is transparency.
| Feature | Jelly Gel Polish | Opaque Gel Polish |
|---|---|---|
| Transparency | Translucent | Mostly opaque |
| Color intensity | Buildable | Usually stronger immediately |
| Natural nail visible | Yes | Usually less visible |
| Best for | Layering & glass-like looks | Full coverage |
| Number of coats | Often 1–3 | Often 1–2 |
| Nail art | Excellent for layered effects | Excellent for bold designs |
Neither is automatically better.
They simply create different finishes.
Choose jelly when you want translucency, depth, and layering.
Choose opaque gel when you want strong, solid color coverage.
Want to learn more? Read our complete guide: Jelly Gel Polish vs Regular Gel Polish →
19. What Is the Best Jelly Gel Polish for Beginners?
For beginners, a jelly gel polish that is easy to control and build gradually is a good place to start.
Look for:
- A clearly labeled translucent formula
- Easy-to-follow curing instructions
- Compatible base and top coat
- A brush that allows controlled application
- Clear ingredient information
Start with an easy-to-wear shade such as:
- Baby pink
- Peach
- Nude
- Soft coral
- Light lavender
These colors make it easier to experiment with transparency without worrying about perfect opacity.
20. What Is the Easiest Jelly Nail Look to Try First?
If you're completely new to jelly nails, start with the simplest version:
The One-Coat Jelly
Step 1: Prepare your nails.
Step 2: Apply base coat and cure.
Step 3: Apply one thin coat of jelly gel polish.
Step 4: Cure.
Step 5: Apply glossy top coat.
Step 6: Cure.
That's it.
You get a translucent wash of color with minimal effort.
Once you're comfortable with one coat, experiment with two or three layers to create more depth.
Jelly Gel Polish: Quick Answers
Still deciding what to do?
Here's the short version.
How many coats?
1–3 thin coats, depending on the desired transparency.
How do I make it more opaque?
Build additional thin coats or use a suitable base color underneath.
Does it work on short nails?
Yes. Jelly polish looks especially clean on short, natural nail shapes.
How do I get a glass-like finish?
Smooth application + thin layers + proper curing + high-gloss top coat.
How long does it last?
Often around 2–3 weeks when properly applied, but actual wear varies.
Can I mix gel polish?
Only use compatible formulas and avoid altering the product with base/top coat unless the manufacturer recommends it.
Can I layer jelly over another color?
Yes, provided the products are compatible and each layer is properly cured.
Is jelly polish good for nail art?
Yes. Its translucency makes it excellent for layered and dimensional designs.
The Easiest Way to Get Your Jelly Look Right
Jelly gel polish is actually very forgiving once you stop trying to make it behave like opaque gel polish.
You don't need to get full coverage immediately.
Instead:
Start sheer.
Build gradually.
Keep every layer thin.
Cure properly.
Finish with gloss.
That's the secret to controlling a jelly finish.
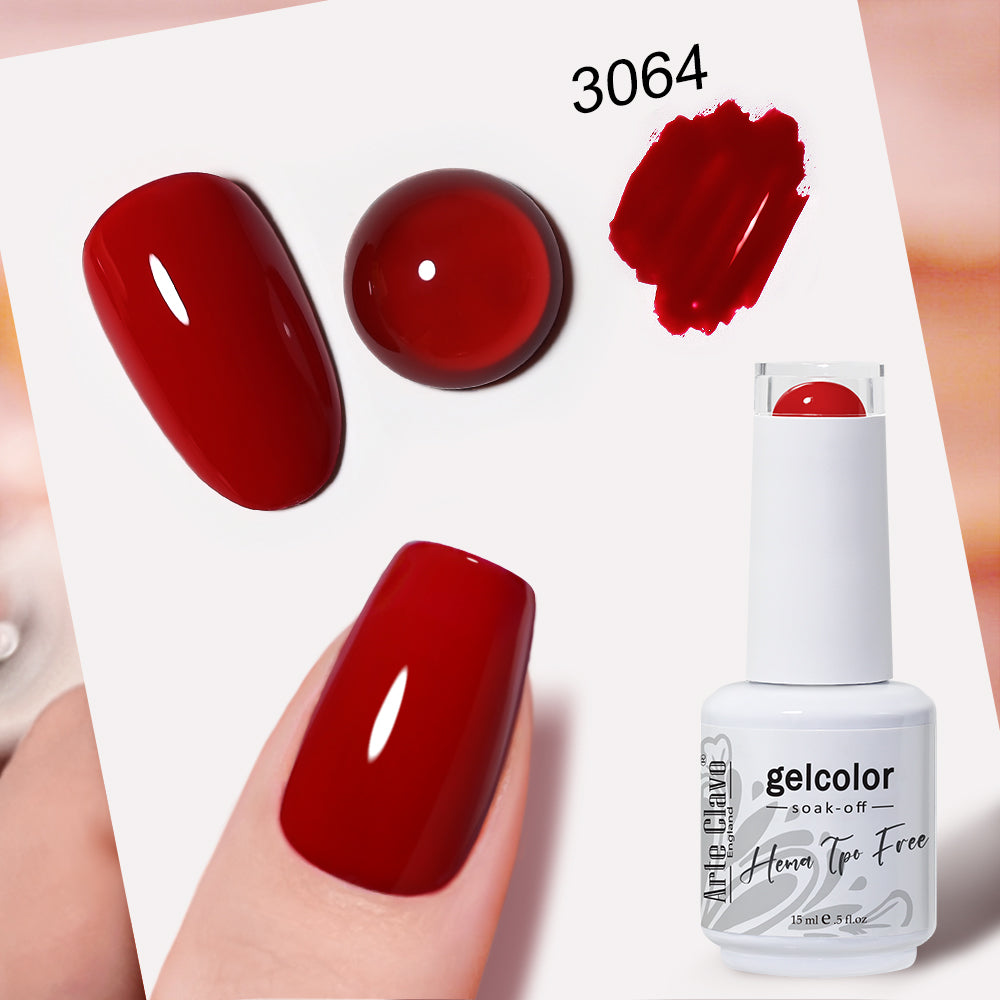
Whether you want barely-there pink, juicy cherry red, translucent lavender, or a custom layered shade, the beauty of jelly gel polish is that you decide how much color you see.
Explore Arte Clavo Jelly Gel Polish
Looking for translucent colors you can build from sheer to deeper?
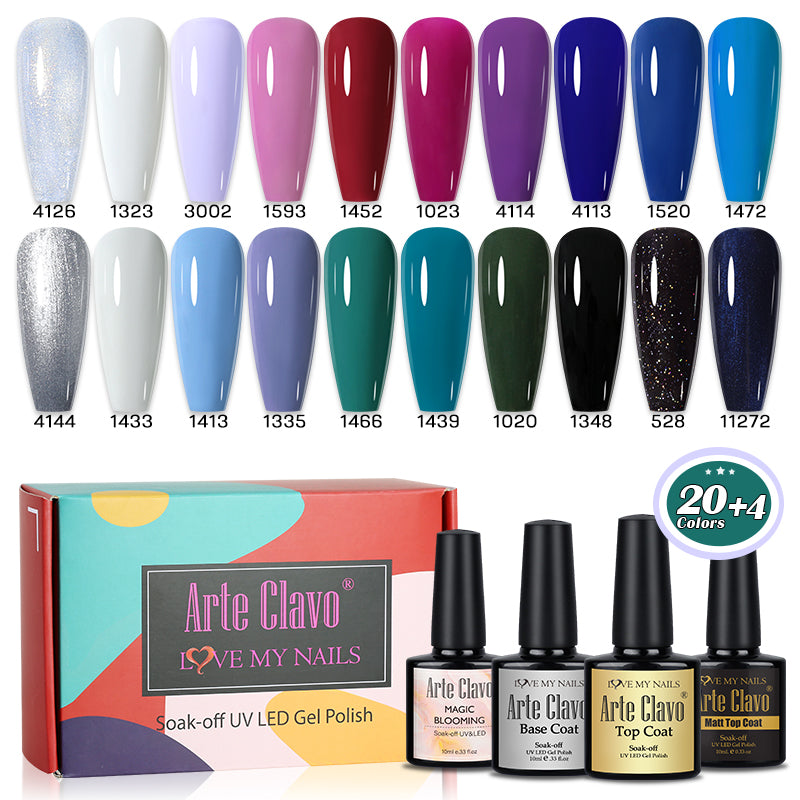
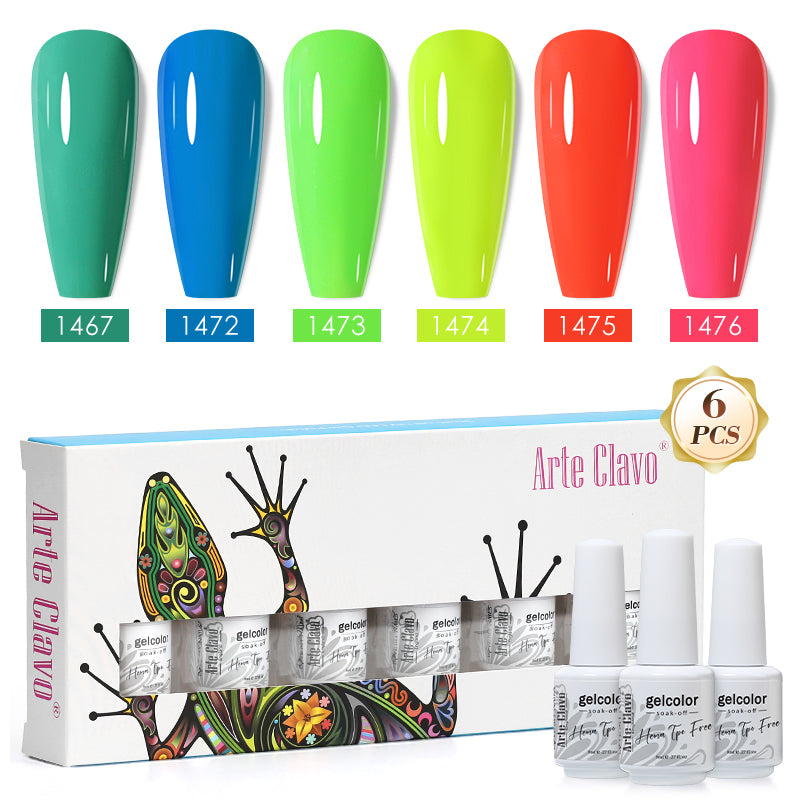
Explore Arte Clavo's Jelly Translucent Gel Polish Collection and experiment with different levels of color, layering, and shine.