
If you love graphic, eye-catching nail designs that balance playful abstract art with a touch of character, this Colorful Ribbon Mummy look is your next must-try manicure. While it looks complex with its overlapping layers, it’s surprisingly simple to achieve with the right tools and patience.
Below is our comprehensive, step-by-step guide along with pro-tips to ensure your lines stay crisp and your colors pop!
🎨 What You’ll Need:
Before you begin, make sure you have the following gel polish colors and nail art tools handy:
-
Base Color / Tips: White or a very light base extensions.
-
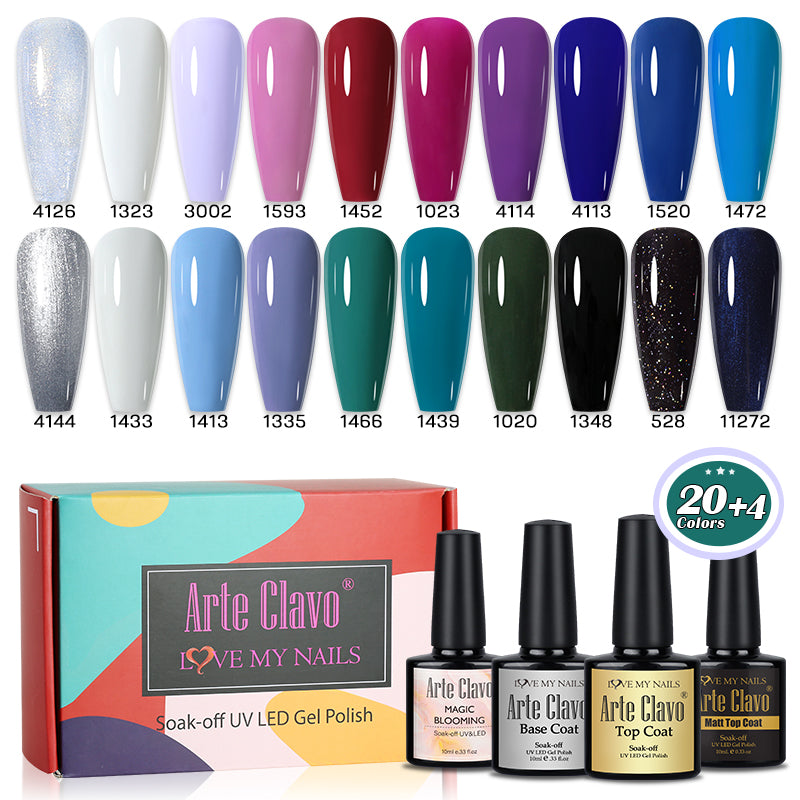
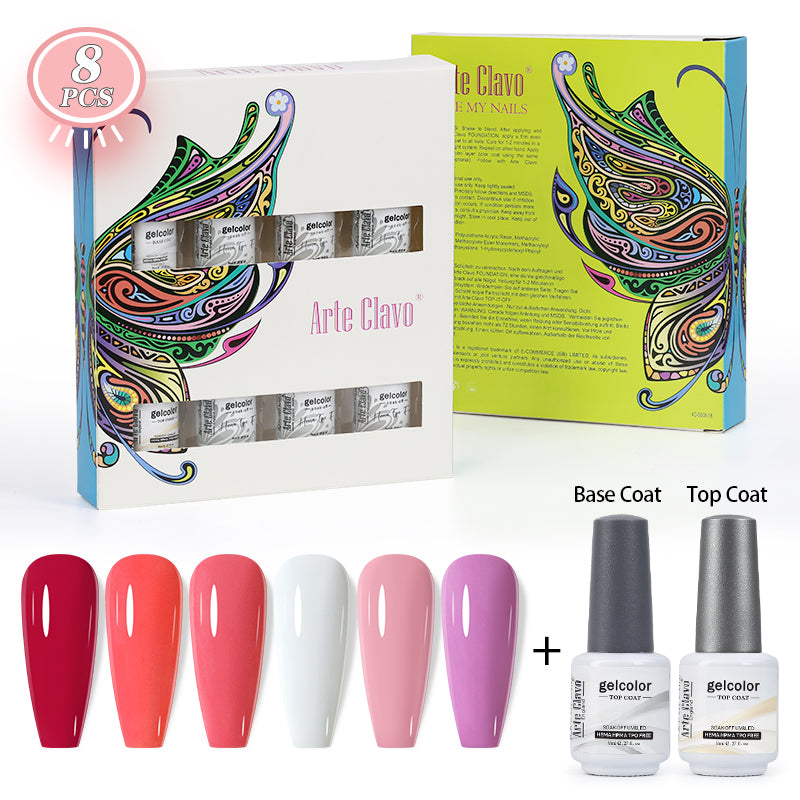
The Palette: Periwinkle Blue (#1335), Yellow (#3024), Light Blue (#3022), Magenta (#3062), and Coral Red (#3045).
-
Detailing Colors: Pure White (#1323) and Deep Black (#1348).
-
Tools: A long, fine liner brush (for the ribbon lines) and a dual-ended dotting tool (for the eyes and mouth).
-
UV/LED Lamp for curing between layers.
📋 Step-by-Step Tutorial
Step 1: Frame the Top
Start by applying the Periwinkle Blue (#1335) at the very cuticle area of the nail, angling it slightly downward to create the first "wrap."
Step 2: Layer the Diagonal Ribbons
Using your fine liner brush, paint overlapping diagonal bands down the nail to mimic wrapped mummy cloth.
-
Follow the blue with a sharp swipe of Yellow (#3024).
-
Next, add a clean stripe of Light Blue (#3022), followed by a thicker block of Magenta (#3062).
-
Add another touch of Yellow (#3024) and Coral Red (#3045) below that, finishing off the free edge with another block of Periwinkle Blue (#1335).
💡 Pro Tip: Flash-cure (5-10 seconds) between each color block if you are worried about the wet gel polishes bleeding into one another!
Step 3: Add the Eyes
Pick a darker ribbon band (like the Magenta layer) to place the eyes. Dip the large end of your dotting tool into White (#1323) and press down gently to form two touching oval/round shapes. Cure completely.
Step 4: Bring the Character to Life
Switch to a smaller dotting tool or your liner brush with Black (#1348).
-
Add two small pupils inside the white circles. Look closely at the video—giving them a slightly cross-eyed or upward gaze adds an instant "cute and surprised" personality!
-
Draw a large, elongated oval lower down (on the orange/purple intersection) to create an expressive, open mouth.
Step 5: Define with White Squiggles (Optional but Recommended)
Take your liner brush with White gel paint and trace fine, squiggly accent lines along the borders of a few ribbons. This creates a 3D, "peeling cloth" effect that ties the mummy theme together.
Step 6: Top Coat & Shine
Apply a generous layer of high-gloss top coat to smooth out the ridges created by the layered polish, cure for a final 60 seconds, and you're done!
💡 Pro Tips for Perfect Abstract Line Work
-
Control Your Product: When loading your liner brush, make sure the polish is evenly distributed along the hairs, with no large droplets at the tip. This prevents accidental pooling on the nail.
-
Anchor Your Hand: Keep your painting hand steady by resting your pinky finger against your opposite hand or the table. Stability is key for sharp diagonal lines.
-
Keep it Thin: Apply the color bands in thin layers. Since you are putting colors side-by-side and overlapping slightly, thick layers will cause a bumpy surface that is hard to seal evenly with a top coat.
Ready to try this look? We’d love to see your recreation! Tag us on Instagram or TikTok using our official hashtag #arteclavo for a chance to be featured on our feed!