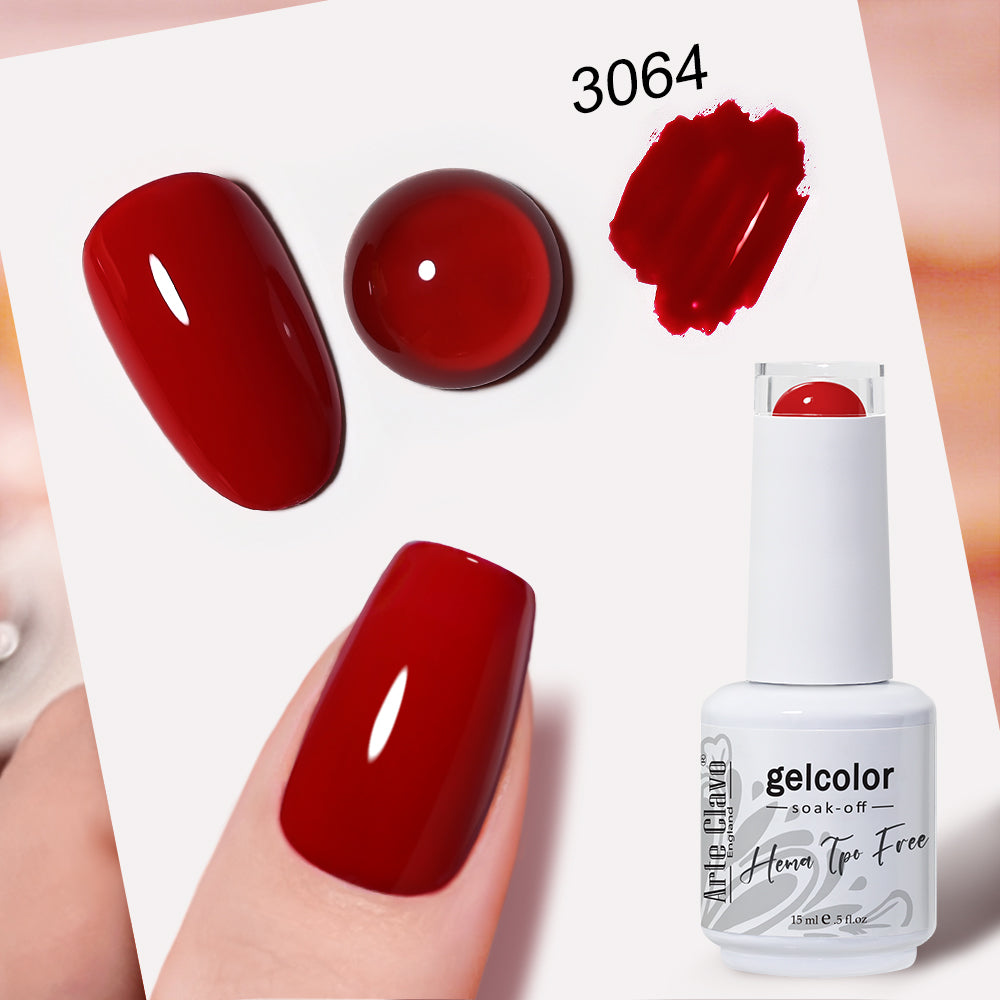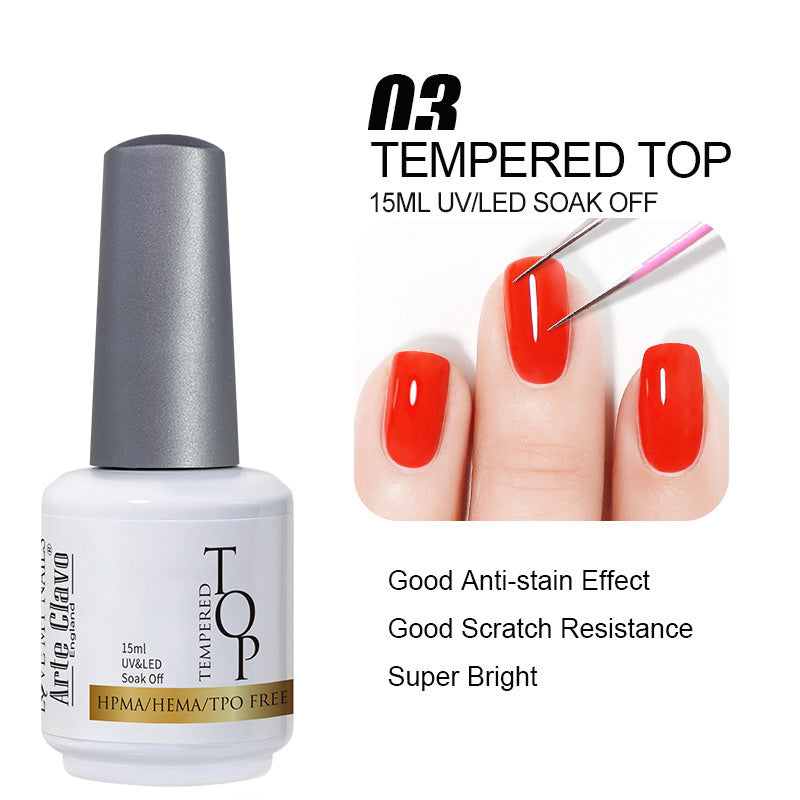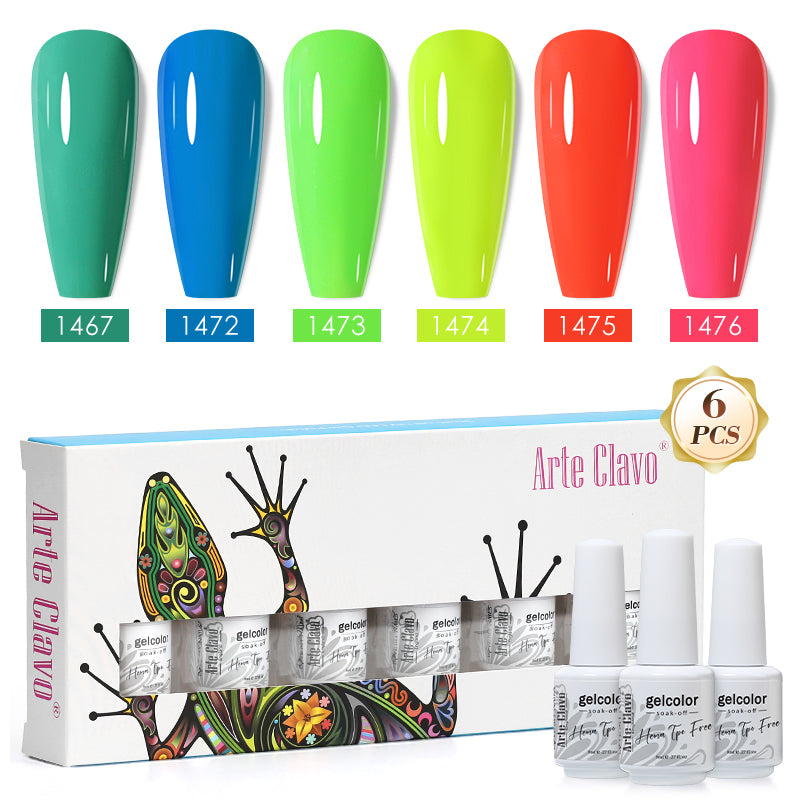

Have you ever looked at those intricate, multi-dimensional marble nail designs on Instagram and thought, "There's no way I can do that at home"? Well, think again! You don't need years of salon experience or an expensive set of fine-liner brushes. In fact, the secret weapon for this look is probably sitting in your kitchen right now: ordinary plastic wrap.
In today’s tutorial, we are breaking down the incredibly satisfying 3-Color Plastic Wrap Dabbing Method to help you achieve a moody, luxurious purple marble manicure in minutes.
What You’ll Need:
-
Base Coat & Top Coat
-
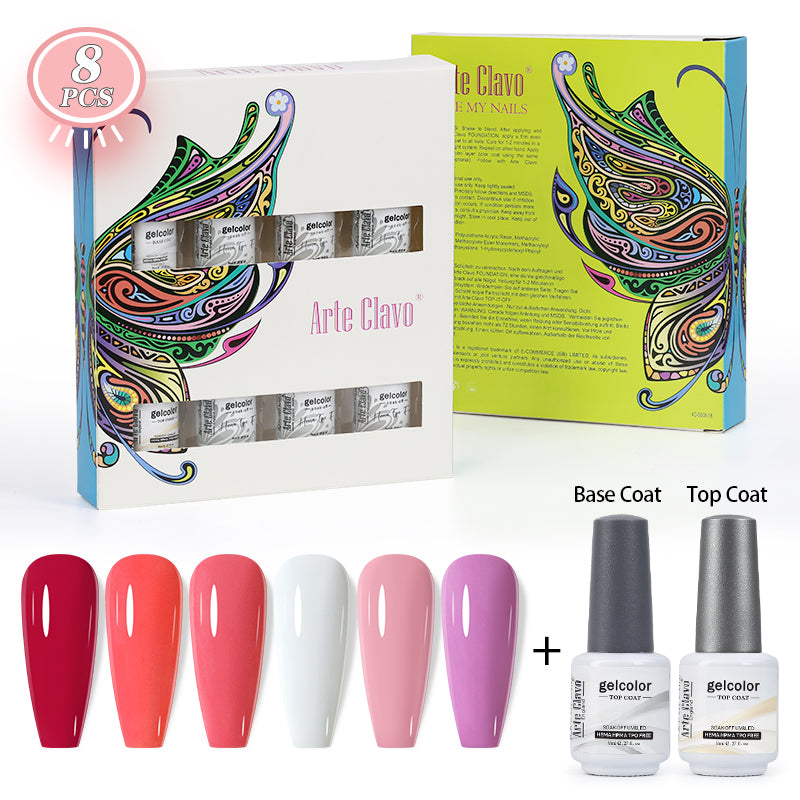
Gel Polish Color 1: #1366 (A shimmering purple)
-
Gel Polish Color 2: #3061 (A rich, deep violet)
-
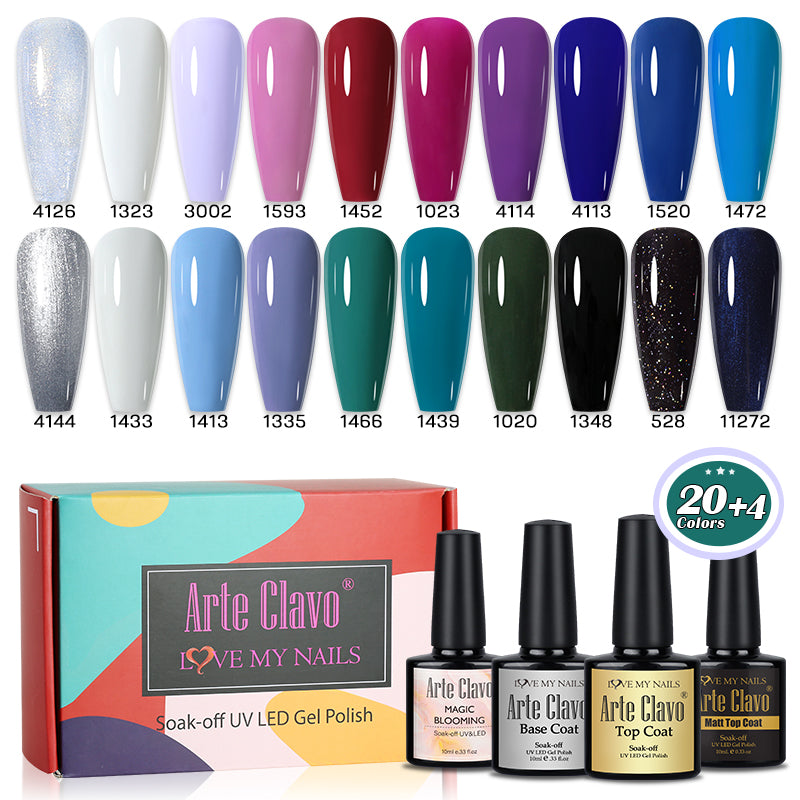
Gel Polish Color 3: #1323 (A crisp, opaque white)
-
A small piece of Plastic Wrap (Saran wrap)
-
Tweezers (optional, for holding the plastic wrap)
-
UV/LED Nail Lamp
Step-by-Step Guide:
Step 1: Prep and Base
Start by preparing your nails and applying a clear base coat. Cure it under your LED lamp. Next, apply a smooth layer of Color #1366 across the entire nail to create a luminous, shimmering purple backdrop. Do not cure yet! Keeping the polish wet is essential for the blending process.
Step 2: Dot the Colors
Take Color #3061 (the deeper violet) and place random, organic dots or curved strokes across the nail. Follow up immediately with Color #1323 (white), placing white dots right next to or slightly overlapping the purple ones. For extra depth, add a few more drops of your base shimmering shade (#1366) over the top.
Step 3: The Plastic Wrap Magic ✨
Here is where the magic happens. Take a small piece of plastic wrap and crumple it up tightly into a textured little ball. Using your fingers or tweezers, gently dab and stamp the crumpled wrap onto the wet polish.
The wrinkles in the plastic wrap will naturally lift, shift, and blend the colors together, creating those organic, smoke-like marble veins and textures that are impossible to paint by hand.
Step 4: Cure and Lock It In
Once you are happy with the marbled pattern, carefully remove the wrap. Clean up any polish that may have gotten onto your skin, and cure the nail completely under your UV/LED lamp.
Step 5: Seal with Top Coat
Finish off your masterpiece with a generous layer of high-gloss top coat to smooth out the texture, protect your art, and give it that glass-like salon finish. Cure one final time!
Why We Love This Technique
"The beauty of the plastic wrap method is that no two nails will ever look exactly the same. It embraces imperfection to create something completely unique, organic, and effortlessly chic."
Ready to Try It Yourself?
You don't need a massive budget to get editorial-ready nails. Grab your shades, head to the kitchen for some wrap, and start creating!
👉 [Click here to shop our Premium Gel Polish Collection] and recreate this exact look today!
Don't forget to tag us on Instagram or TikTok showing off your marble creations—we love seeing your work!