
When it comes to nail art, sometimes we want to step away from the classic nudes and pastel florals and dive straight into something a little more... chaotic.
With spooky season always around the corner (or if you just love a good comic book villain vibe), nothing makes a bolder statement than Gotham's favorite antagonist: The Joker. 🃏
Today, we’re breaking down exactly how to recreate this terrifyingly beautiful, smudged Joker nail art design that you saw in our latest viral video. Grab your liners, and let’s put a smile on those nails!
🛠️ What You’ll Need:
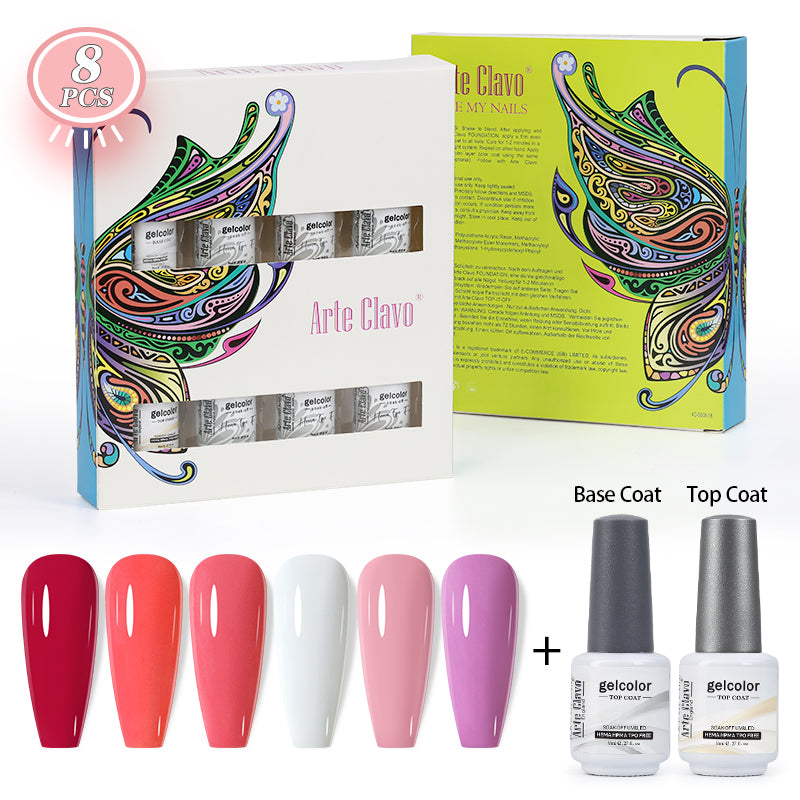
Before we start, make sure you have your tools ready. You can find all of these high-quality gel polishes and brushes right here in our store:
-
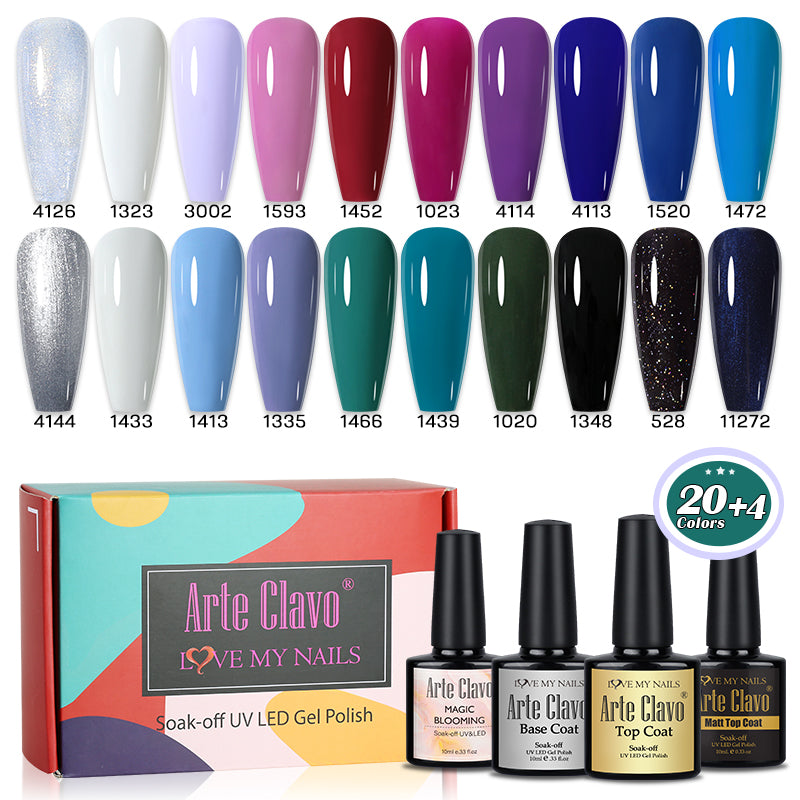
Color #1323 for the White Base
-
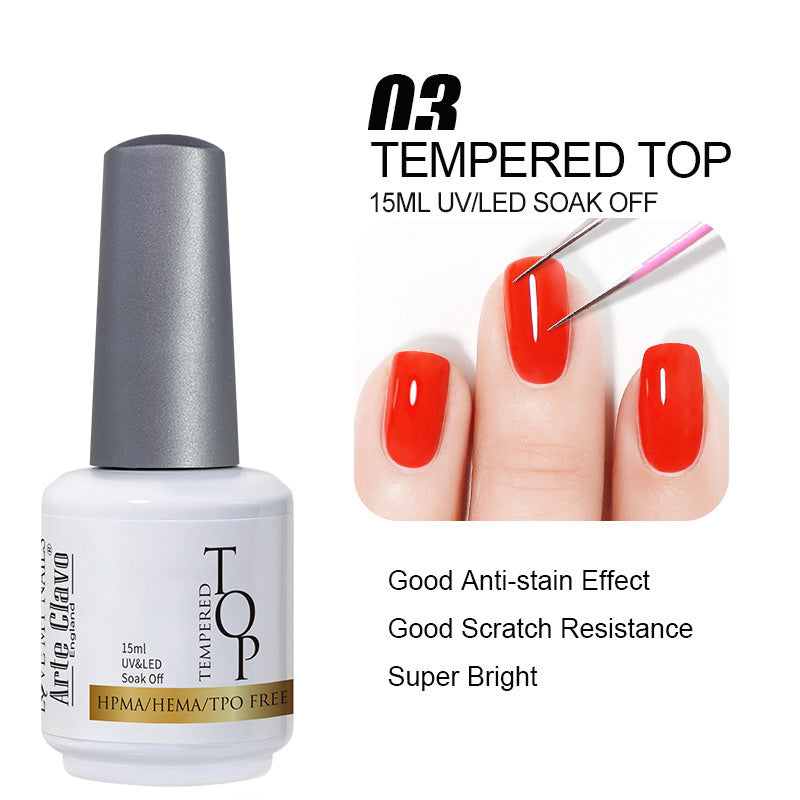
Clear Base Coat
-
Color #1348 (Midnight Black)
-
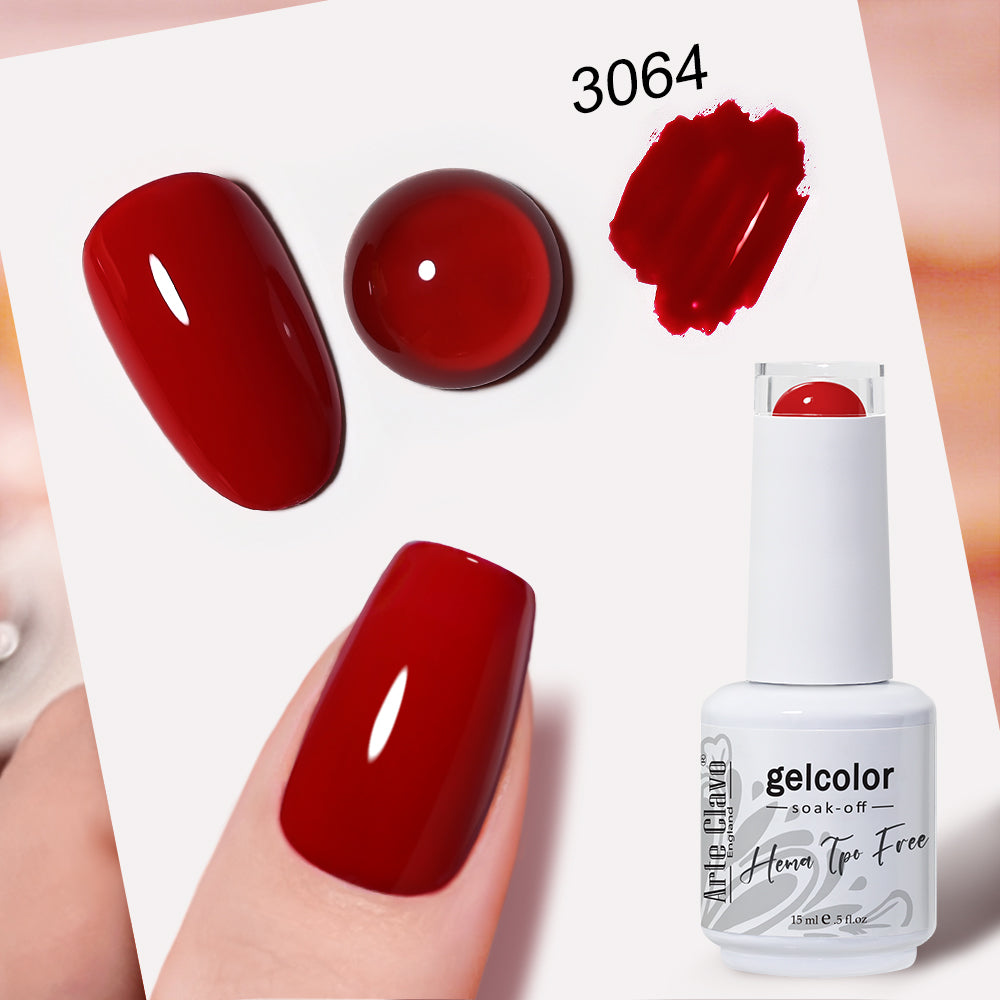
Color #1343 (Crimson Bloody Red)
-
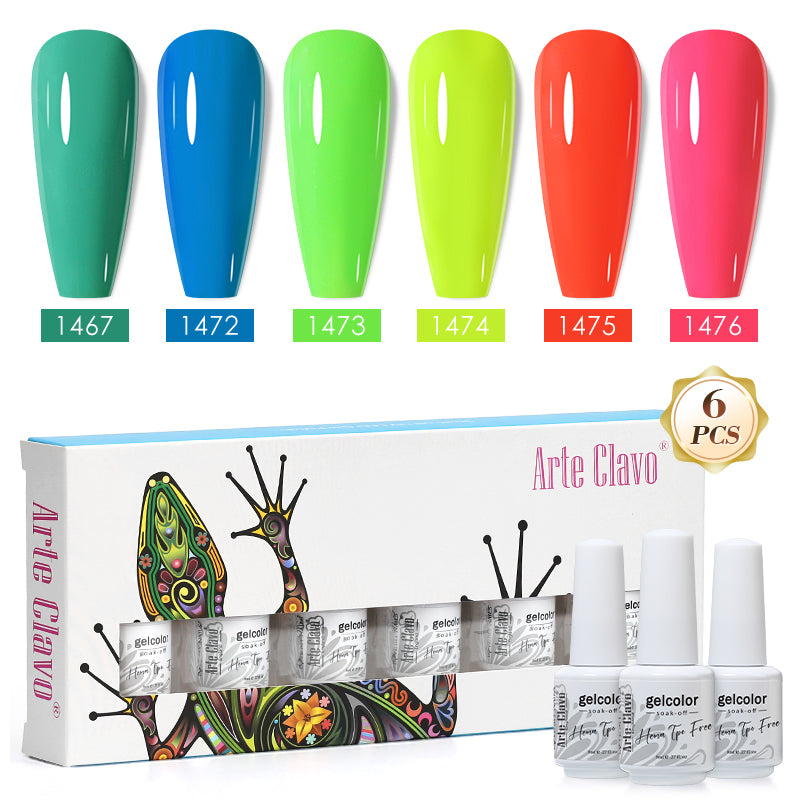
Color #1473 (Neon Slime Green)
-
Fine Detail Liner Brush & Dotting Tool
📝 Step-by-Step Guide to the Madness
Step 1: The "Wet-on-Wet" Secret Base
Start with a clean, cured white canvas. Apply a thin layer of Clear Base Coat, but DO NOT CURE IT YET. This is the secret to getting that eerie, bleeding, spray-painted effect for the eyes and mouth.
Step 2: Crafting the Chaotic Eyes
Dip your liner brush into Color #1348 (Black). Draw two messy circles for the eyes. Because the base coat is still wet, the black gel will naturally spread and bloom, creating a creepy, hollow, smudged look. Once you are happy with the eye texture, flash cure for 30 seconds.
Step 3: That Iconic, Sinister Smile
Using the same black gel, sketch out a wide, exaggerated smile stretching across the tip of the nail. Next, take your Color #1343 (Crimson Red) and fill in the lips. Let the red paint bleed slightly past the lines to mimic that chaotic, smeared makeup look. Use a dotting tool to add his signature red nose right in the center! Cure for 60 seconds.
Step 4: Adding the Slime Green Hair
No Joker look is complete without his green locks. Take Color #1473 (Green) and paint messy, dripping strands coming down from the cuticle area. Mix in a tiny bit of black gel to add depth and shadow to the hair.
Step 5: Seal the Madness
Once you're satisfied with your masterpiece, cure the entire nail for a full 60 seconds. Seal it with a high-shine Top Coat (or a Matte Top Coat for a more textured, grungy look) and cure one last time.
💡 Nail Tech Tip: When working with the wet-on-wet technique, speed is key! The longer you wait before curing, the more the gel will spread. Practice on a display tip first to find your perfect blur timing!
🛍️ Recreate the Look!
Ready to turn heads with this edgy set? Don't wait for Halloween to express your dark side.
👉 [Click here to shop our Villain Gel Polish Collection] and get all the tools you need to master this look at home!
What character should we tackle next? A spooky vampire? A classic horror icon? Drop your suggestions in the comments below!