
Animal prints never truly go out of style, but every now and then, a new twist comes along that completely redefines the trend. Enter the Fiery Leopard Tortoiseshell Nail—a stunning fusion of classic, sophisticated tortoiseshell depth and the bold, fierce patterns of leopard print.
Whether you’re looking to spice up your regular manicure or looking for a show-stopping design for your next event, this look brings the perfect balance of warmth, drama, and luxury. The best part? You don't need to be a master artist to achieve it. Read on as we break down exactly how to recreate this mesmerizing look step-by-step.
What You’ll Need (The Color Palette)
To get that rich, amber-like depth that looks like it's glowing from within, the secret lies in strategic layering. Here are the exact shades we used in our latest tutorial:
-
The Bright Base: Gel Color #3054 (Vibrant Tangerine) & #3053 (Sunshine Yellow)
-
The Fiery Depth: Gel Color #4095 (Rich Amber-Red)
-
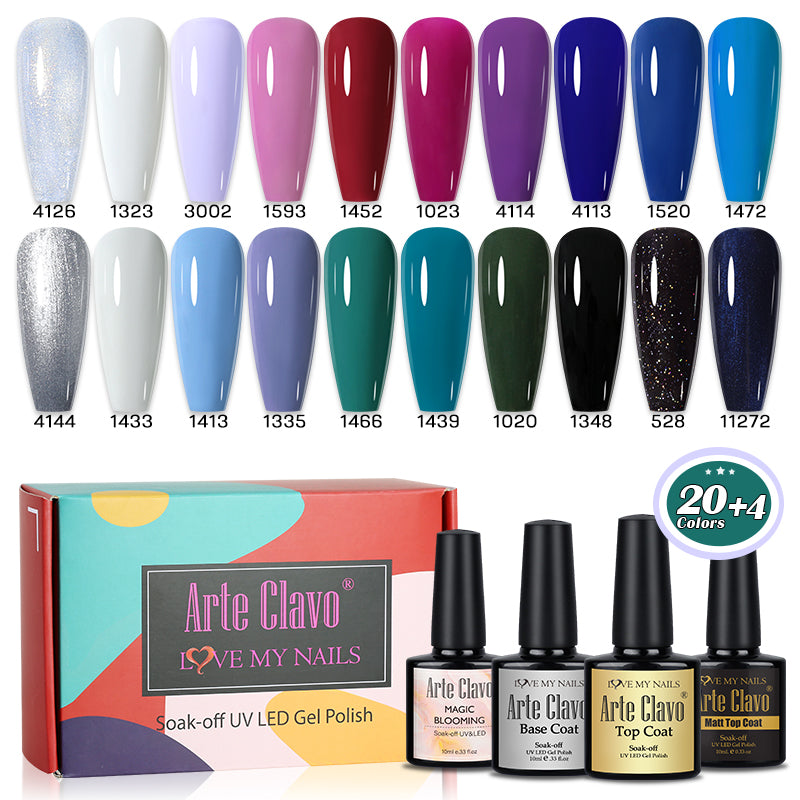
The Iconic Spots: Gel Color #1348 (Pitch Black)
-
The Tools: A fine linework brush and a dotting tool.
Step-by-Step Guide: Creating the Look
Step 1: Layering the Warm Tones
Start with a clear extension or a neutral base coat. Apply random drops of Color #3054 and #3053 onto the nail. Before curing, gently swirl and blend them together using a fine nail brush to create a marbled, smoke-like effect.
Step 2: Adding the Fiery Glow
To give the design that signature "glass" or "jelly" depth, layer Color #4095 over the swirled base. This semi-translucent amber shade instantly ties the yellows and oranges together, creating a beautiful dimensional fire effect. Cure under your UV/LED lamp.
Step 3: Mapping out the Leopard Spots
Using a dotting tool and Color #1348, place irregular shapes across the nail. The key to a realistic leopard print is imperfection! Make some spots larger, some smaller, and leave space in between.
Step 4: The Fine Details & Top Coat
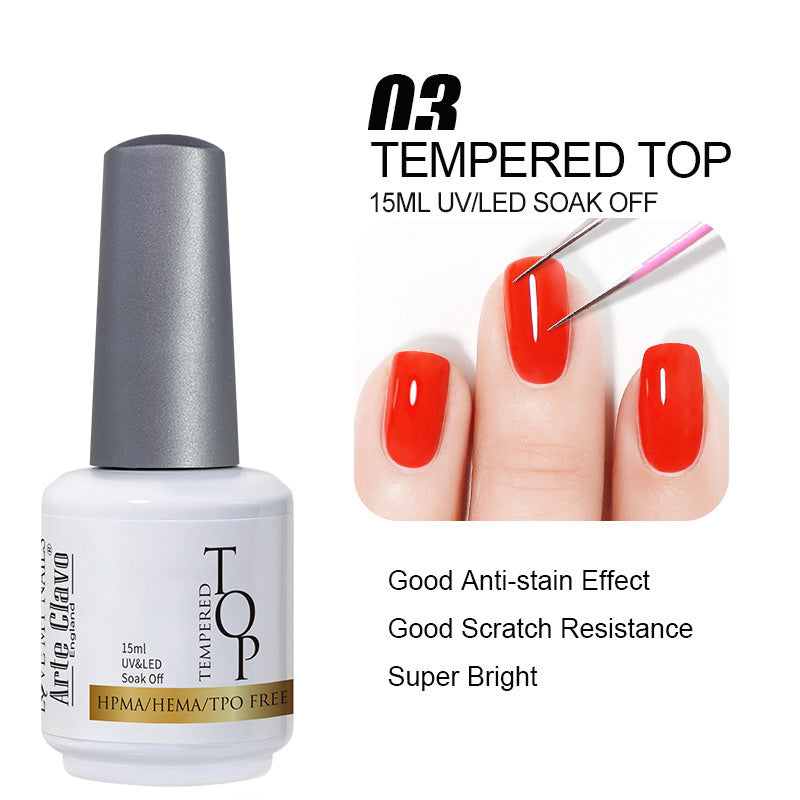
Take your fine linework brush to add smaller abstract dashes around the main spots to balance out the design. Once you are happy with the pattern, cure one final time and seal it all in with a high-shine, scratch-resistant Top Coat.
Pro Tip: Don't rush the blending phase! The more organic the color transitions look underneath the black spots, the more expensive and professional your manicure will look.
Ready to Unleash Your Wild Side?
You don't need to head to an expensive salon to get runway-ready nails. All the high-pigment gel polishes and professional tools used in this tutorial are available right here on our store.
👉 [Click Here to Shop the Fiery Leopard Collection] and get 25% off your first order with code: COMEBACK25.
Happy painting, and don't forget to tag us on Youtube so we can see your beautiful creations!