
Introduction
Nothing says "summer vacation" quite like a vibrant sunset and the silhouette of swaying palm trees. The good news? You don’t have to visit an expensive salon to get this tropical look. With the right gel polishes and a little bit of patience, you can recreate this stunning tropical gradient nail art right at home.
In this step-by-step guide, we’ll break down exactly how to achieve this look, along with our top pro-tips for a flawless, salon-quality finish.
What You’ll Need:
Before you start, make sure you have the following supplies ready:
-
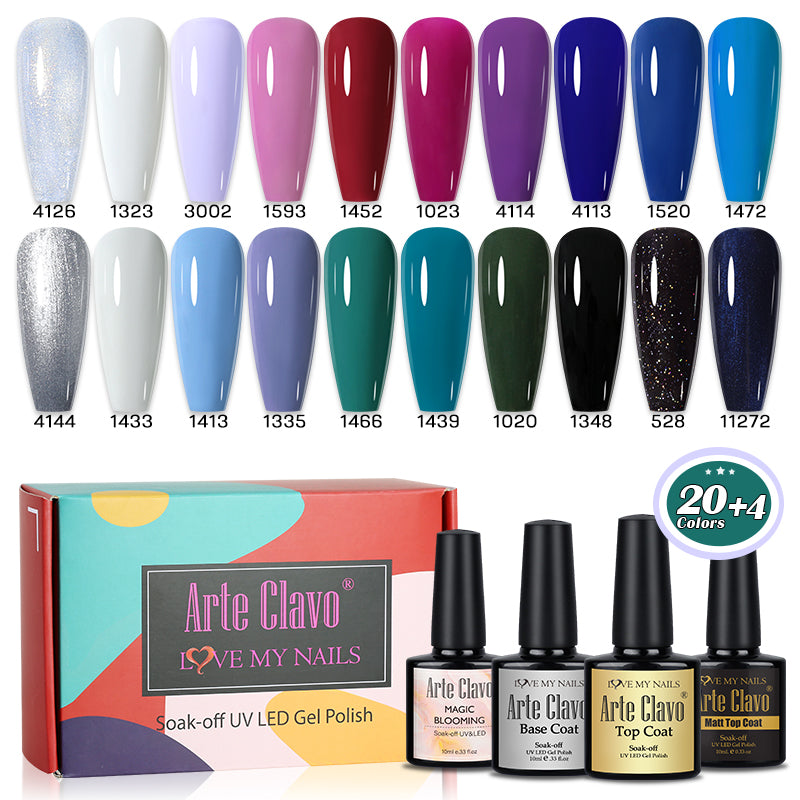
White Base Coat: (We used Color #1323)
-
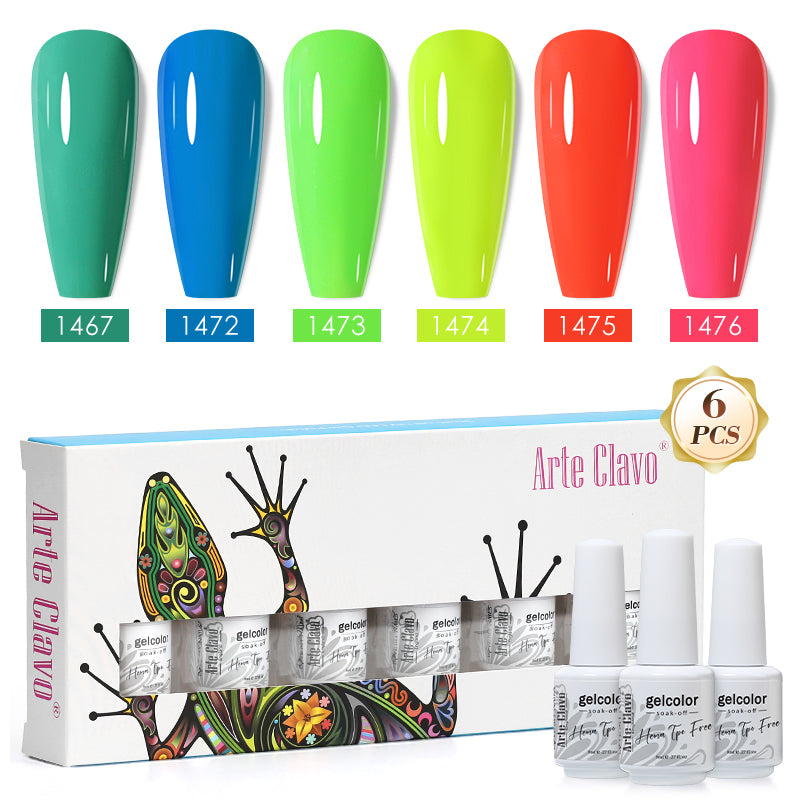
Sunset Gradient Colors: Vibrant Pink (#1476), Warm Orange (#1475), and Neon Yellow/Green (#1474)
-
Detailing Color: Dark Brown or Black (#1348)
-
A Fine Detail Nail Art Brush
-
UV/LED Nail Lamp
-
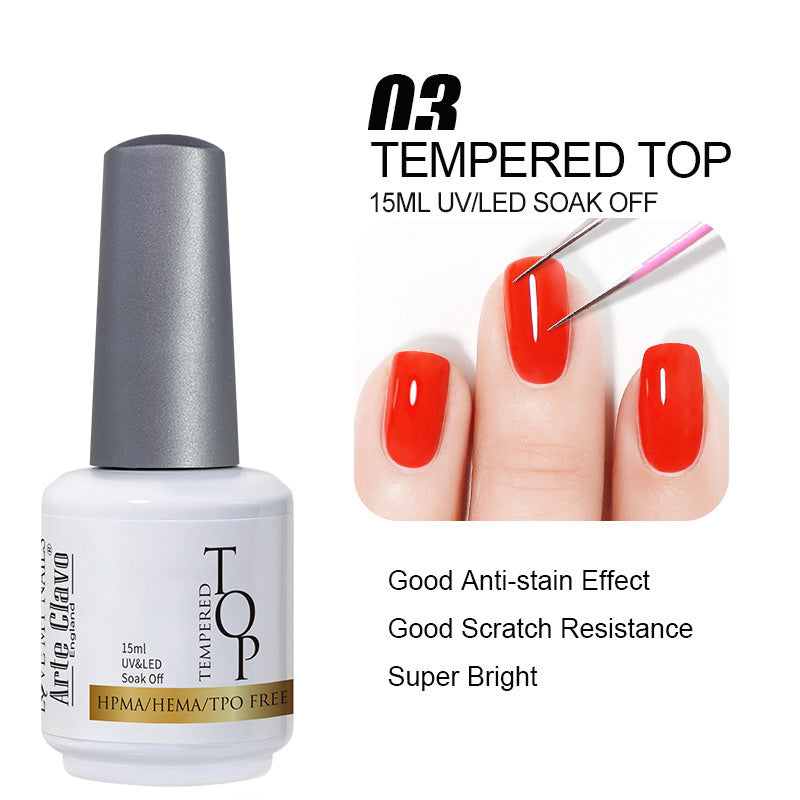
Glossy Top Coat
Step-by-Step Tutorial
Step 1: Lay Down the Canvas
Start by applying a smooth, even layer of a crisp White Base Coat (#1323). Cure it completely under your UV/LED lamp. A solid white base is essential for tropical designs because it makes the bright neon and sunset colors pop.
Step 2: Layer the Sunset Gradient
Instead of a traditional sponge gradient, we are creating a layered, textured sunset:
-
Apply a stroke of Pink (#1476) near the top third of the nail.
-
Follow up with Orange (#1475) right below the pink, slightly overlapping them to create a natural transition.
-
Finish the bottom section with a bright Yellow/Green (#1474). Tip: Keep your layers relatively thin so the gel cures evenly!
Step 3: Paint the Palm Tree Silhouette
Now it's time for the artistry. Dip your fine detail brush into the Dark Detail Color (#1348).
-
The Trunk: Start from the bottom corner and draw a smooth, slightly curved line upward toward the center of the pink zone. Thicken the base slightly to make it look realistic.
-
The Fronds: From the top of the trunk, pull out 4 to 5 curved lines radiating outwards like a starburst.
-
The Leaves: Use very light, feathery strokes pulling downwards from each frond line to create the textured palm leaves.
Step 4: Add the Final Details & Seal
Add a couple of horizontal silhouette lines at the bottom of the nail to represent the beach horizon or water reflections. Once you are happy with your design, cure it under the lamp one last time. Seal your masterpiece with a Glossy Top Coat to protect your art and add that high-shine salon finish!
💡 Pro-Tips for Perfect Nail Art:
Control your brush: When painting the palm tree leaves, ensure there is very little product on the tip of your detail brush. This prevents the lines from smudging or looking too thick.
Flash cure if needed: If you're worried about your palm tree lines bleeding into each other, "flash cure" (cure for just 5-10 seconds) after painting the trunk before moving on to the leaves.
Conclusion
And there you have it! A gorgeous, eye-catching tropical manicure that will have everyone asking, "Where did you get your nails done?" Ready to try it yourself? Head over to our store to grab the exact gel polish shades used in this tutorial and start creating your own paradise!
👉 [Shop the Tropical Sunset Gel Polish Collection Here]
How did your tropical nails turn out? Recreate this look, post it on Instagram, and tag us to be featured on our page!