
Introduction
Are you looking for a nail design that is both head-turning and surprisingly easy to achieve? Look no further than the Vibrant Stained-Glass Blooming Effect. This mesmerizing look combines a sleek, deep black base with exploding pops of neon and jewel tones, creating a fluid, marbleized masterpiece that looks like miniature stained glass on your fingertips.
The secret weapon behind this look? A wet base coat that allows the colors to melt and spread naturally.
In this quick guide, we’ll break down exactly how to recreate this viral salon look right at home using our premium, healthy gel formulas.
🛠️ What You’ll Need
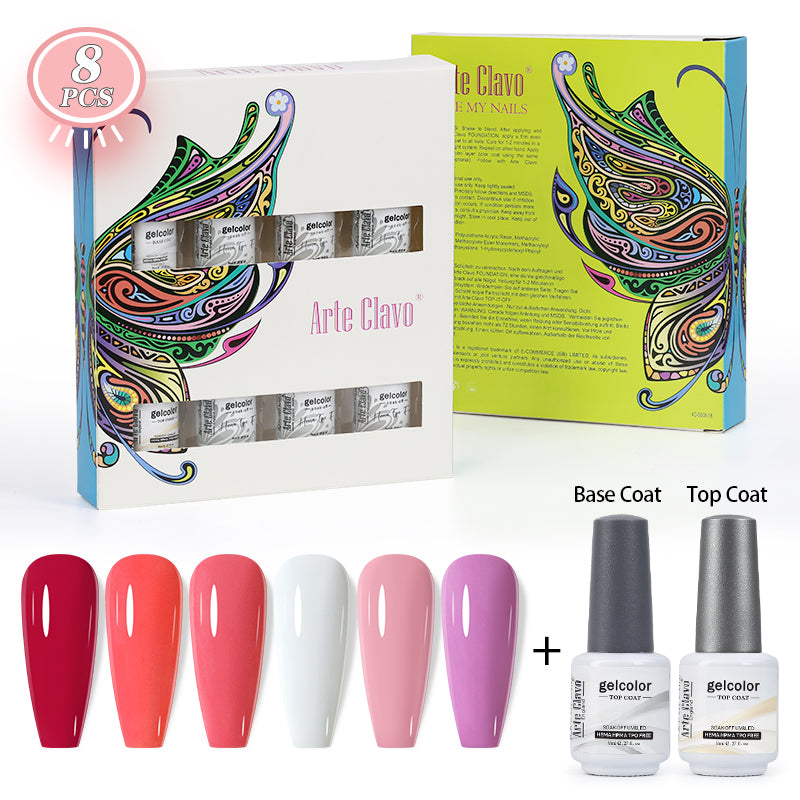
Before you start, make sure you have your tools ready. For this exact look, we used our high-pigment, HEMA-Free & TPO-Free gel polishes, ensuring a stunning finish without compromising your nail health.
-
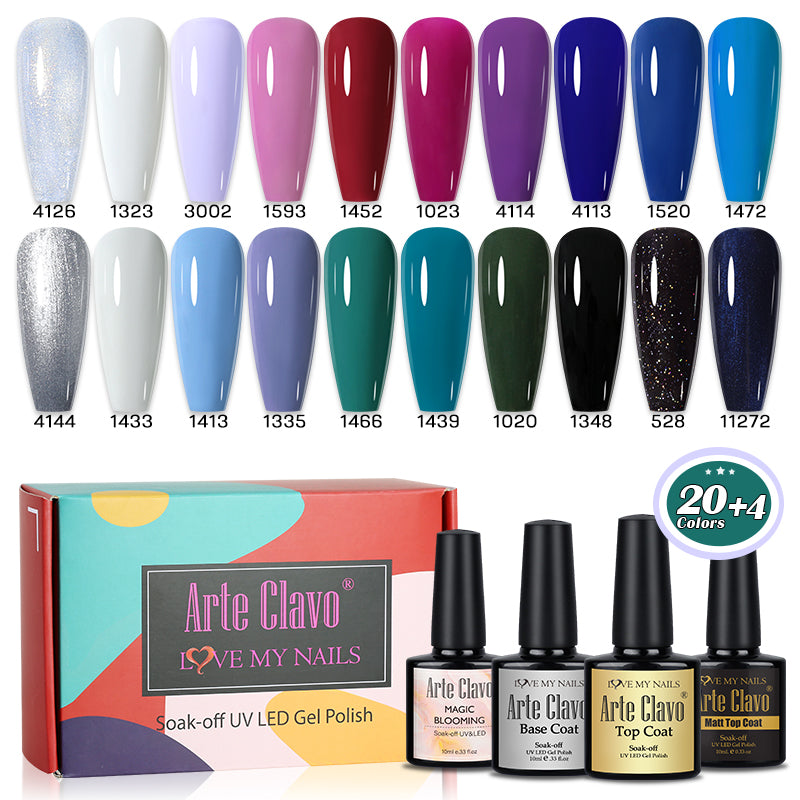
The Canvas: Deep Black Gel Polish (Color #1348)
-
The Magic Medium: Clear Base Coat
-
The Vibrant Palette:
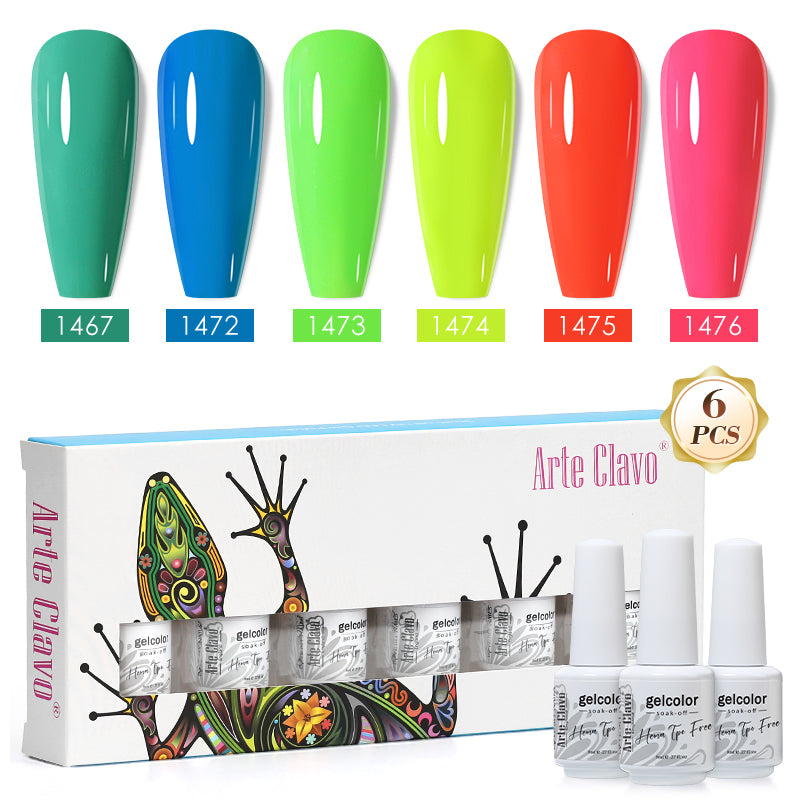
Neon Yellow-Green (Color #1474)
Vibrant Orange (Color #1475)
Hot Pink (Color #1476)
Emerald Green (Color #1473)
-
The Tool: A fine liner or detail nail art brush
-
The Finish: High-Shine Top Coat
-
The Tech: UV/LED Nail Lamp
🎨 Step-by-Step Tutorial
Step 1: Lay the Dark Foundation
Every vibrant masterpiece needs a contrasting background. Apply a smooth, even layer of our Deep Black Gel Polish (Color #1348). Cure completely under your LED/UV lamp. (If needed, apply a second coat for full opacity and cure again).
Step 2: Create the "Wet" Canvas (The Golden Rule!)
Apply a generous, even layer of your Clear Base Coat over the black base.
🚨 CRITICAL TIP: DO NOT CURE THIS LAYER! Leaving this coat wet is what allows the subsequent colors to spread, blend, and "bloom" smoothly.
Step 3: Dot Your Palette
While the base coat is still wet, take your detail brush and place small dots of your vibrant shades (Colors #1474, #1475, #1476, and #1473) across the nail. Space them out slightly to leave room for the magic to happen. You will instantly notice the edges of the dots starting to soften and expand.
Step 4: Swirl and Sculpt
Take your clean detail brush and gently drag it through the dots in a fluid, S-shaped or swirling motion. Don't over-mix—let the wet base coat do the heavy lifting. Watch as the colors blend into a breathtaking stained-glass marble pattern. Once you are happy with the movement, pop it immediately into the lamp to lock the design in place. Cure for 60 seconds.
Step 5: Seal the Shine
Finish with a layer of glossy Top Coat to protect your artwork, give it that glassy depth, and ensure it lasts for weeks. Cure one final time, and you're done!
💡 Pro-Tips for Perfect Blooming Nails
-
Control the Spread: If your colors are spreading too fast, you might have applied too much wet base coat. A thin, even layer is usually enough to get the perfect bleed without losing control of the design.
-
Clean Your Brush: Wipe your detail brush on a lint-free wipe between swirls. This keeps the colors crisp and prevents the design from turning into a muddy brown mess.
-
Choose Healthy Formulas: Creating detailed nail art means spending more time with your products. Always opt for HEMA-free and TPO-free gel polishes to minimize the risk of skin allergies and keeping your natural nails strong.
🛍️ Shop the Look
Ready to try this look yourself? We’ve put together the ultimate collection to help you recreate this stained-glass vibe.
👉 [Click here to shop our HEMA-Free Vibrant Gel Polish Collection] and use code ARTECLAVO50 for a special discount on your next nail art haul!
Have you tried the blooming gel technique yet? What color combination are you excited to try next? Let us know in the comments below!