
Nothing says "summer vacation" quite like a breathtaking sunset by the beach. But what if you could carry that serene, tropical golden hour with you everywhere you go?
Today, we are breaking down our latest viral nail tutorial: the Tropical Sunset Palm Tree Nail Art. Whether you are a professional nail tech looking for fresh salon inspiration or a DIY enthusiast leveling up your manicure game, this step-by-step guide will help you master the perfect summer gradient and marble wave technique.
🛠️ What You’ll Need (The Color Palette)
Before we start, make sure you have your UV/LED lamp, a fine liner brush, and these essential gel colors ready:
-
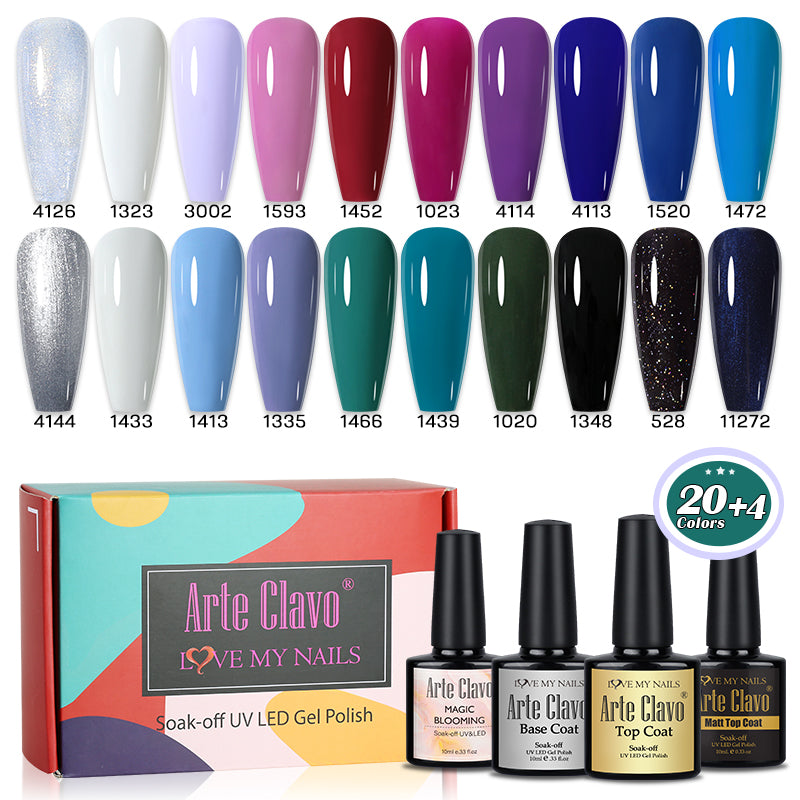
The Base Sky: Bright Yellow Gel (#4049) & Royal Purple Gel (#2084)
-
The Ocean: Ocean Blue Gel (#4091)
-
The Waves: Crisp White Gel (#1323)
-
The Silhouette: Deep Black Gel (#1348)
📋 Step-by-Step Tutorial
Step 1: Lay Down Your Sunset Blocks
Start with a clear or nude base coat and cure. Next, apply three horizontal blocks of color to represent the sky and the sea: Yellow (#4049) at the cuticle area, Purple (#2084) in the middle, and Ocean Blue (#4091) at the tip. Do not cure yet!
Step 2: Create the Marble Ocean Waves
Using a fine liner brush dipped in White Gel (#1323), gently swirl and marble the colors together where they meet. Dragging the white gel across the purple and blue sections creates that realistic, foaming ocean wave effect. Once you are happy with the gradient and wave texture, cure under your LED lamp for 60 seconds.
Step 3: Paint the Silhouette Palm Tree
Using a high-pigmentation Black Gel (#1348) and a detail brush, it’s time to bring the island vibes to life.
-
Draw a slightly curved vertical line from the bottom of the nail up into the purple sky zone to form the trunk.
-
Add small dots at the top to anchor your leaves, then pull out curved lines to create the fronds of the palm tree.
-
Fill in the details to make the silhouette pop against the bright sunset background. Cure for 60 seconds.
Step 4: Seal and Shine
Apply a generous layer of our high-shine Top Coat to smooth out the hand-painted design and protect your artwork from chipping. Cure one last time, and you are ready to flaunt your beach-ready nails!
💡 Pro Tip: When painting the palm tree silhouette, keep your brush pressure very light. The lighter the pressure, the thinner and more delicate your lines will be!
🛒 Shop the Look!
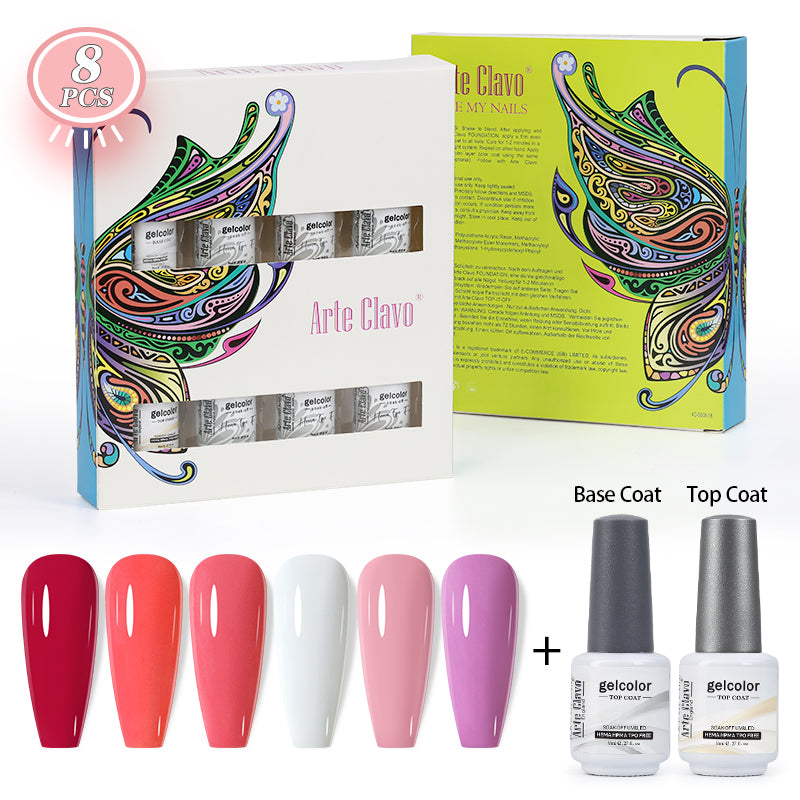
Ready to recreate this paradise manicure? We’ve bundled all the shades used in this tutorial just for you.
👉 [Click Here to Shop Our Summer Tropical Gel Collection] and get 25% off your first order with code: COMEBACK25.
Happy painting, and don't forget to tag us on Instagram using #arteclavo so we can feature your beautiful recreations!