
There is something instantly mood-boosting about a fresh, colorful manicure. And right now, we are completely daydreaming about Rainbow and Cloud Nail Art! 🌈☁️
Whether you are looking to brighten up a rainy day or want a playful look for your next vacation, this vibrant design is surprisingly easy to achieve with the right tools. In this blog post, we’re breaking down the exact steps and colors used in our viral tutorial so you can recreate this masterpiece at home!
🛍️ What You’ll Need (The Color Palette)
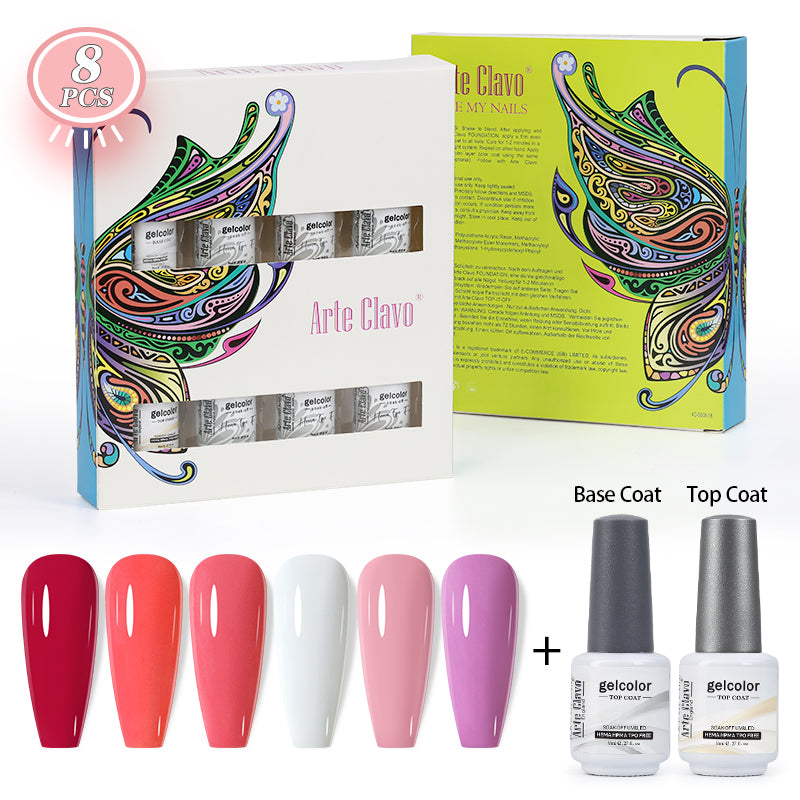
Before we begin, make sure your nail desk is stocked. Here are the exact gel polish shades featured in our guide:
-
The Dreamy Base: Color #3005 & Color #3039 (A soft, ombré blend of pastel pink and sky blue)
-
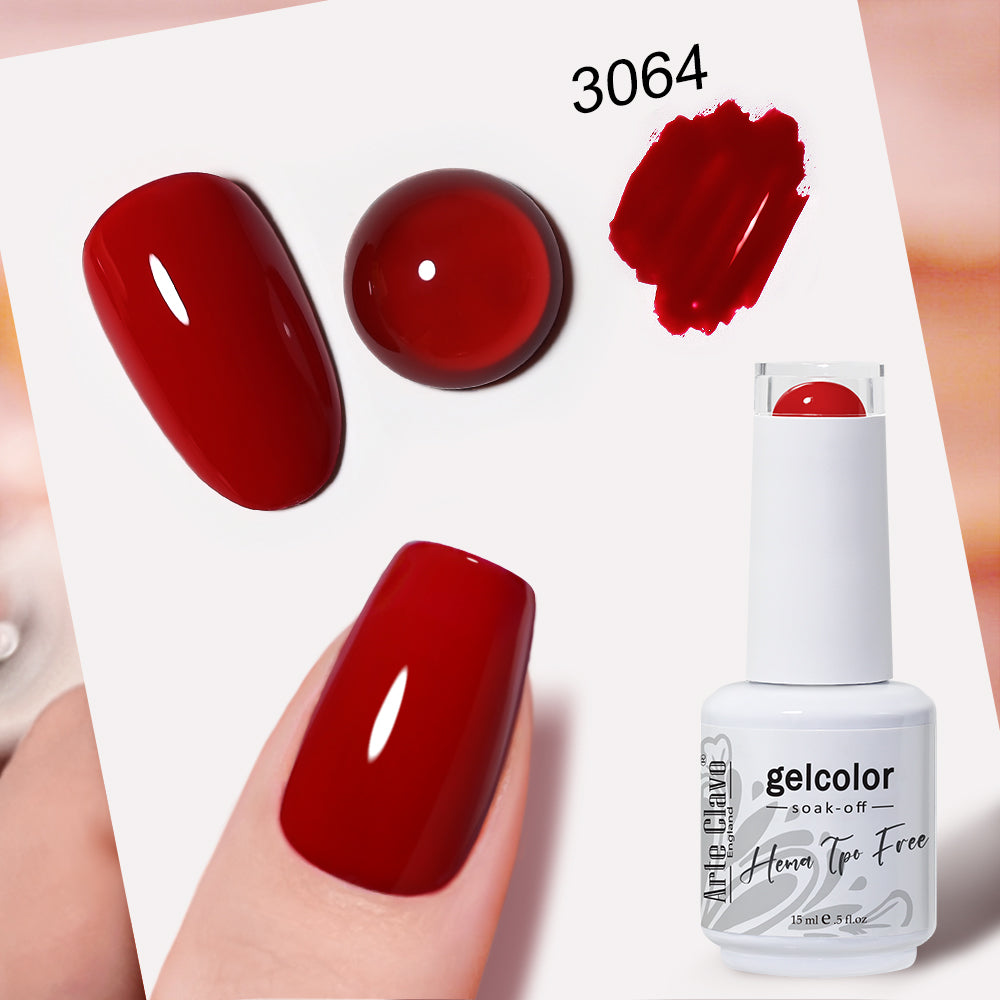
The Rainbow Stripes: Color #3064 (Red), Color #2094 (Orange), Color #3053 (Yellow), Color #3057 (Green), Color #1529 (Blue), Color #2084 (Purple)
-
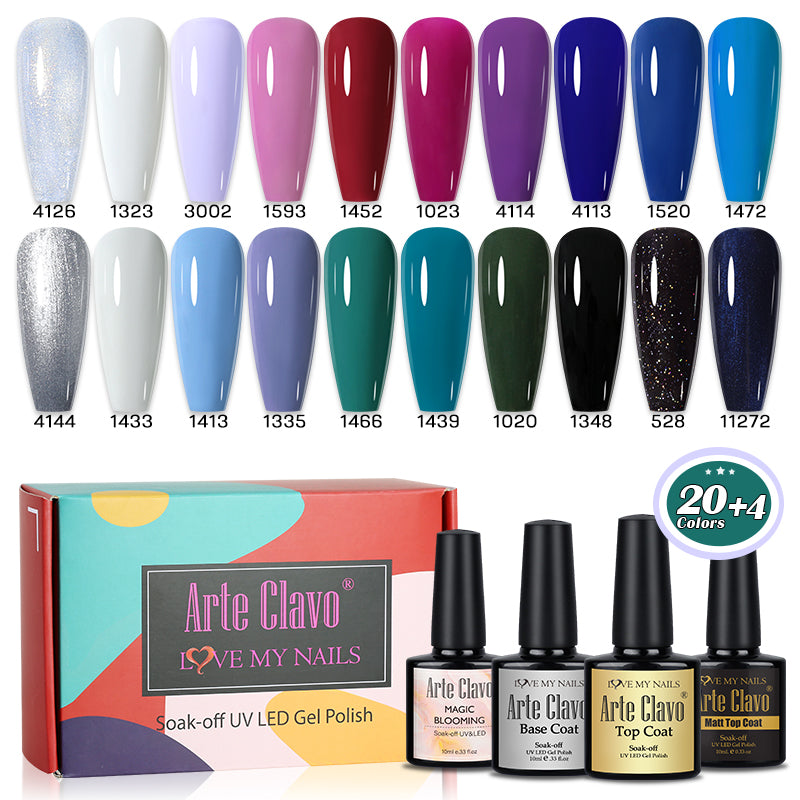
The Fluffy Clouds: Color #1323 (Crisp White)
-
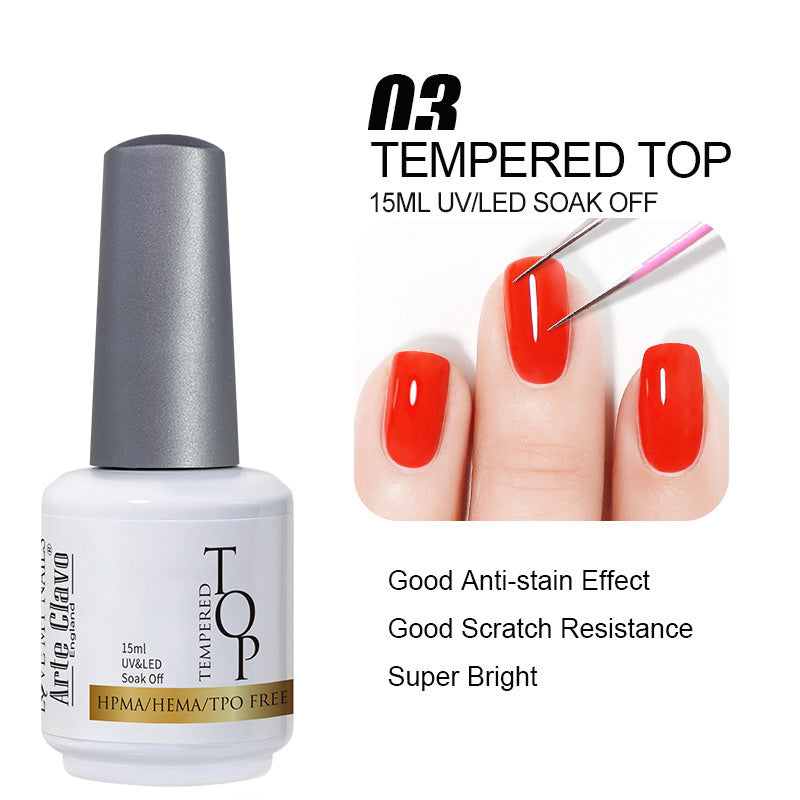
The Seal: Glossy Top Coat
👉 [Click here to shop the entire Rainbow Collection bundle!]
🎨 Step-by-Step Guide
Step 1: Prep and Base
Start with your nail prep. Once your base coat is cured, apply Color #3005 and Color #3039 to create a soft, gradient sky effect. Blend them gently where they meet to get that seamless, dreamlike transition. Cure under your UV/LED lamp.
Step 2: Paint the Rainbow
Using a fine liner brush, it's time to channel your inner artist!
-
Start with Color #3064 (Red) and draw a smooth, sweeping arch across the nail.
-
Follow closely with Orange (#2094), Yellow (#3053), Green (#3057), Blue (#1529), and Purple (#2084). Tip: Keep your layers thin so the colors don't bleed into each other before curing! Once your rainbow is perfect, cure it.
Step 3: Dot the Clouds
Grab your dotting tool and Color #1323 (White).
-
At the base of your rainbow, place a few overlapping dots to create the illusion of a fluffy cloud.
-
Use your liner brush to gently smooth out the bottom of the cloud.
-
Add an extra standalone cloud in the sky space for that perfect balance! Cure one last time.
Step 4: Shine and Protect
Seal your hard work with our high-shine Top Coat. This not only gives it that salon-quality glass finish but also protects your nail art from chipping for up to 3 weeks!
🌟 Show Us Your Recreations!
Now it's your turn to shine! Try out this look and tag us on Instagram or TikTok using the hashtag #arteclavo. We love reposting our community's gorgeous sets!
Want 25% off your first order? Sign up for our newsletter below and get instant access to the shades used in this tutorial!