
A step-by-step guide to mastering this playful, vibrant manicure using our favorite gel shades.
The classic French manicure will never go out of style, but sometimes it’s fun to give it a bold, modern upgrade. Today, we’re breaking down a super chic and playful design that combines a vibrant orange French tip with retro polka dots of varying sizes.
Whether you're a professional nail tech or a DIY enthusiast looking for your next weekend project, this look is guaranteed to turn heads. Let’s dive into how you can recreate it!
What You’ll Need:
Before you start, make sure you have the following supplies ready:
-
Color #YZ122/3037: A clean, prepped nail base (or a milky white base coat)
-
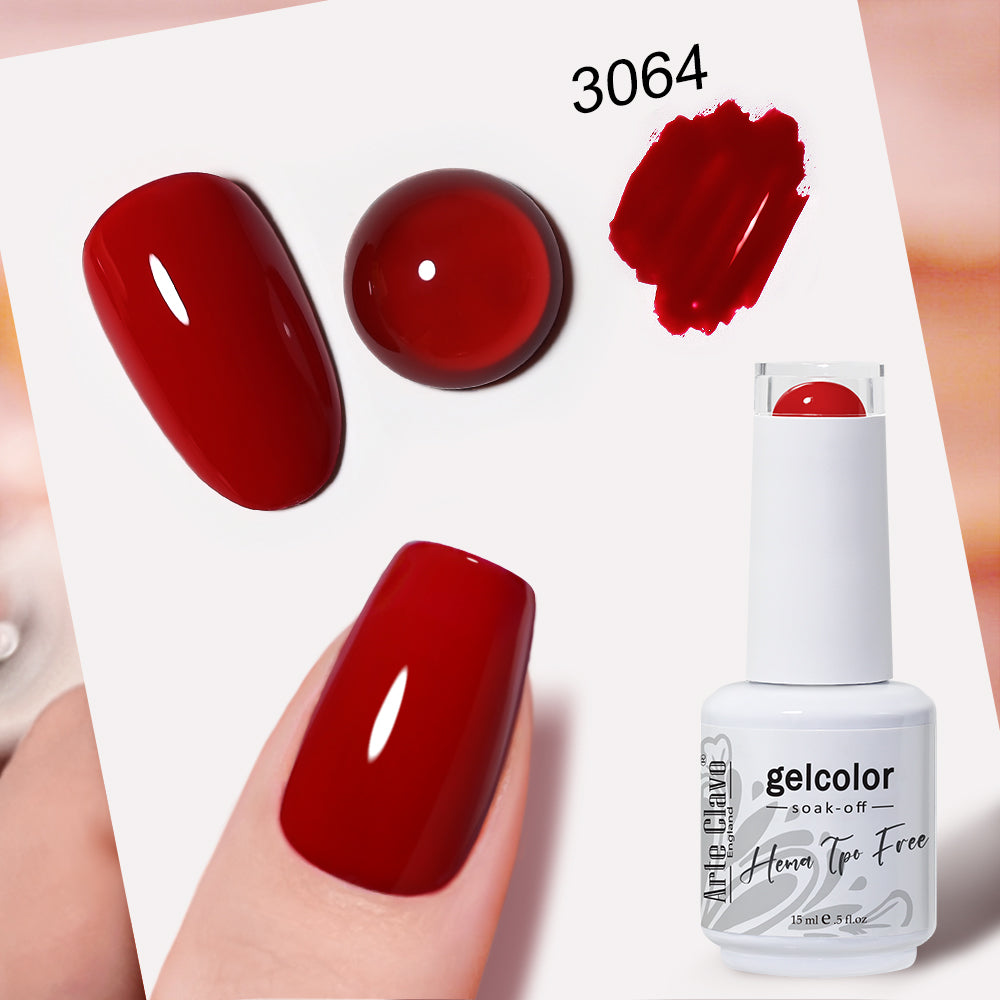
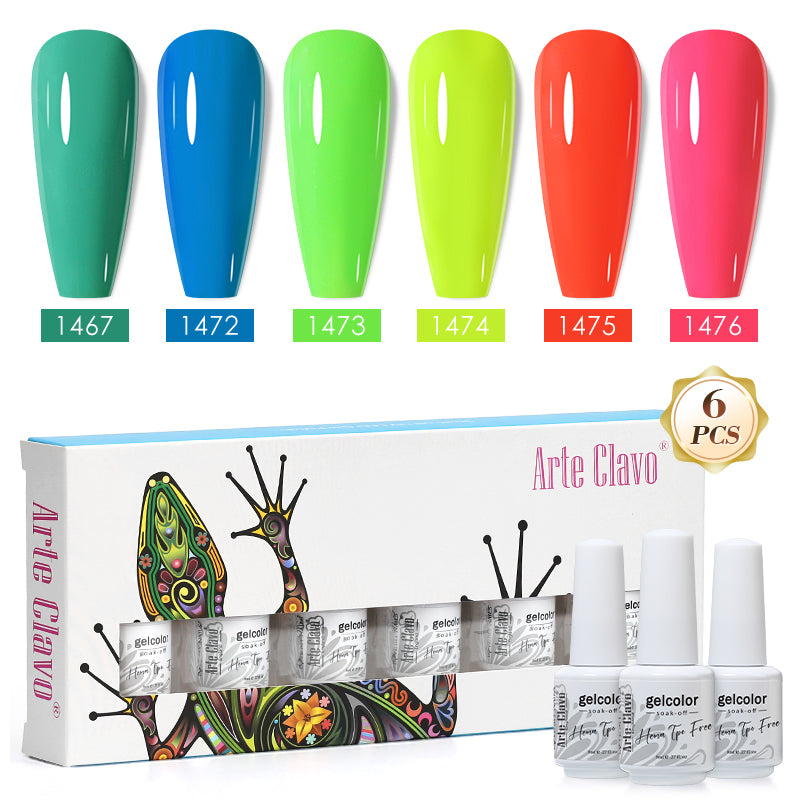
Color #3054: A rich, vibrant orange gel polish
-
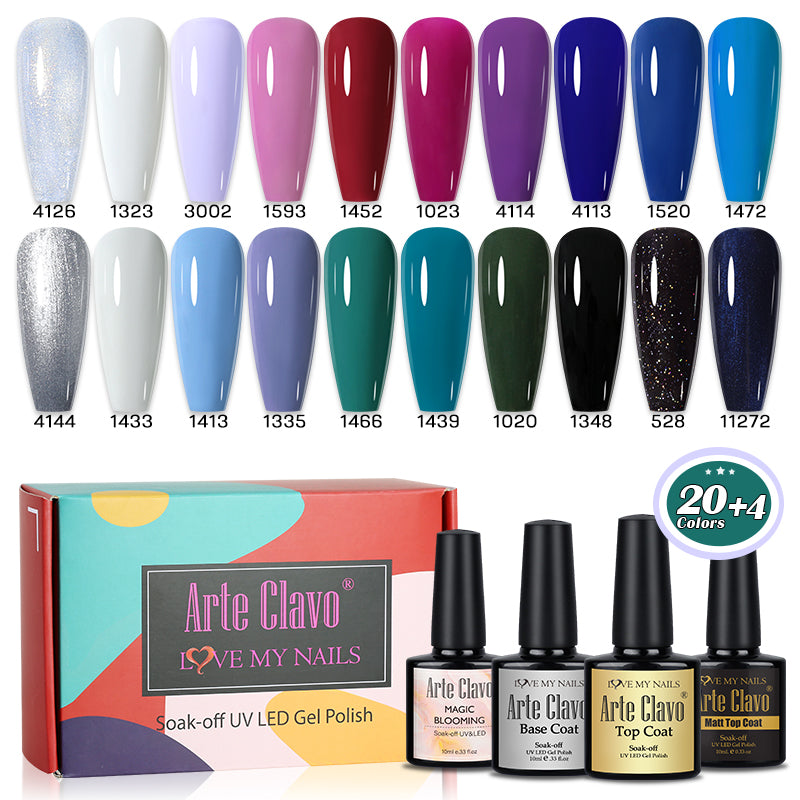
Color #1348: A highly pigmented black gel polish
-
A fine liner brush (for the French line)
-
A dual-ended dotting tool (with large and small spheres)
-
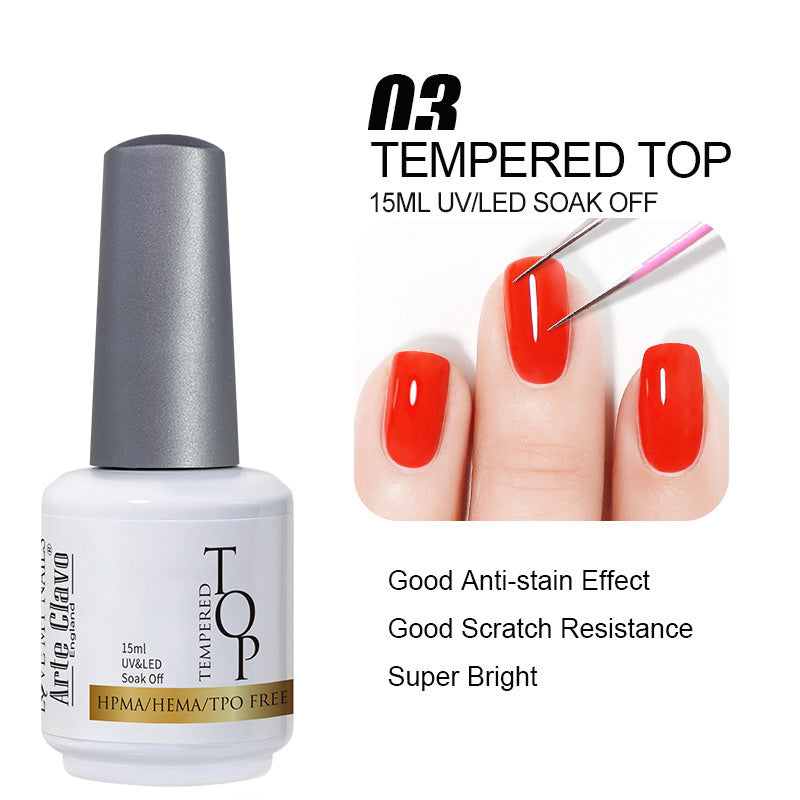
A glossy top coat & UV/LED lamp
Step-by-Step Tutorial
Step 1: The Vibrant French Tip
Start with a well-prepped or slightly milky base (Color #YZ122/#3037). Dip your fine liner brush (or the polish brush if you have a steady hand) into Color #3054. Carefully draw a deep, curved French smile line at the tip of the nail, then fill it in with that gorgeous orange shade. Cure under your UV/LED lamp.
Step 2: The Big Polka Dots
Switch over to Color #1348 and your larger dotting tool. Gently press into the black polish and place several larger dots across the main body of the nail, creating a balanced but random pattern.
Step 3: The Mini Accent Dots
Using the smaller end of your dotting tool, place tiny black dots in between the larger ones to fill in the negative space. Pro tip: Add a couple of mini dots right along the orange French tip to seamlessly blend the two design elements together! Cure once you are happy with the placement.
Step 4: Seal with Shine
Finish off the look with a generous layer of our high-gloss top coat to protect your artwork, smooth out the dots, and give it that salon-quality shine. Cure one last time, and you’re good to go!
💡 Nail Tech Pro-Tip:
When creating polka dots of different sizes, make sure not to pick up too much product on your dotting tool. A light, straight-down-and-up tap ensures perfect circles without any bleeding or smudging!
Shop the Look
Ready to try this look yourself? Grab the exact shades used in this tutorial and tag us in your recreations on Instagram!