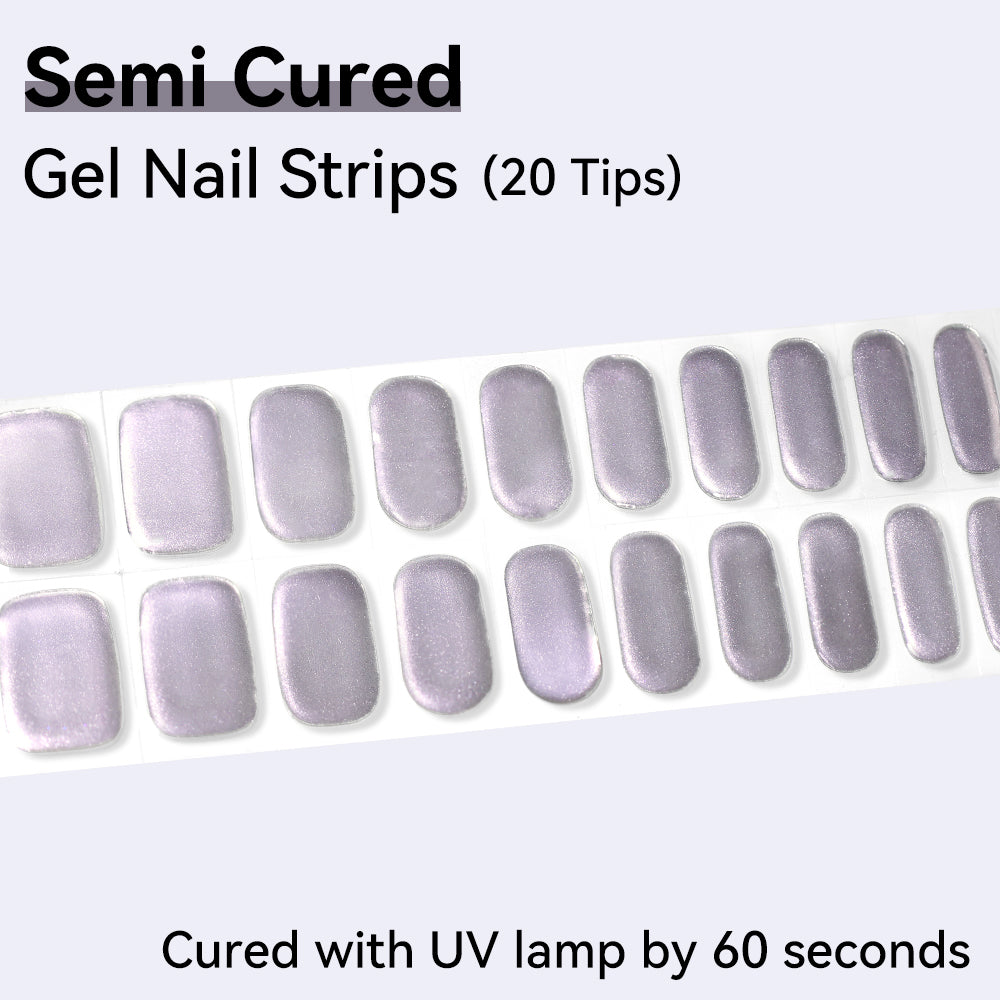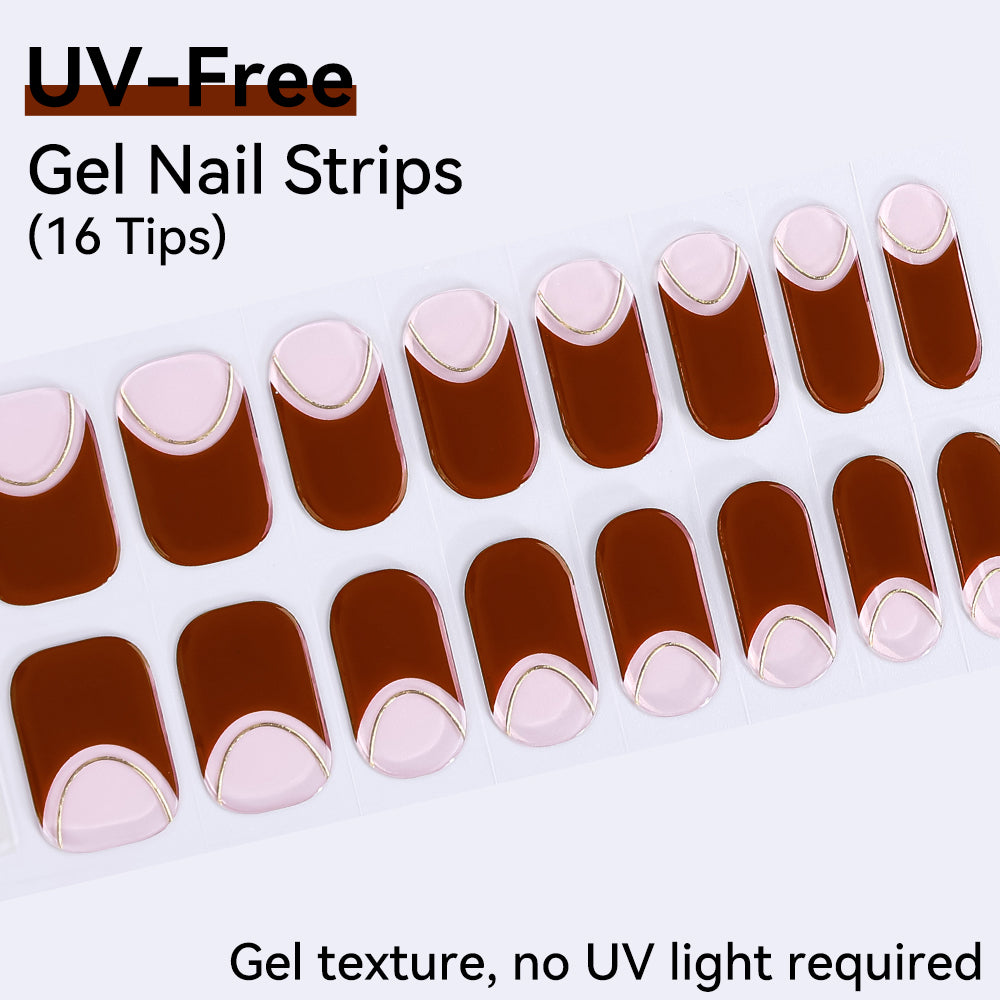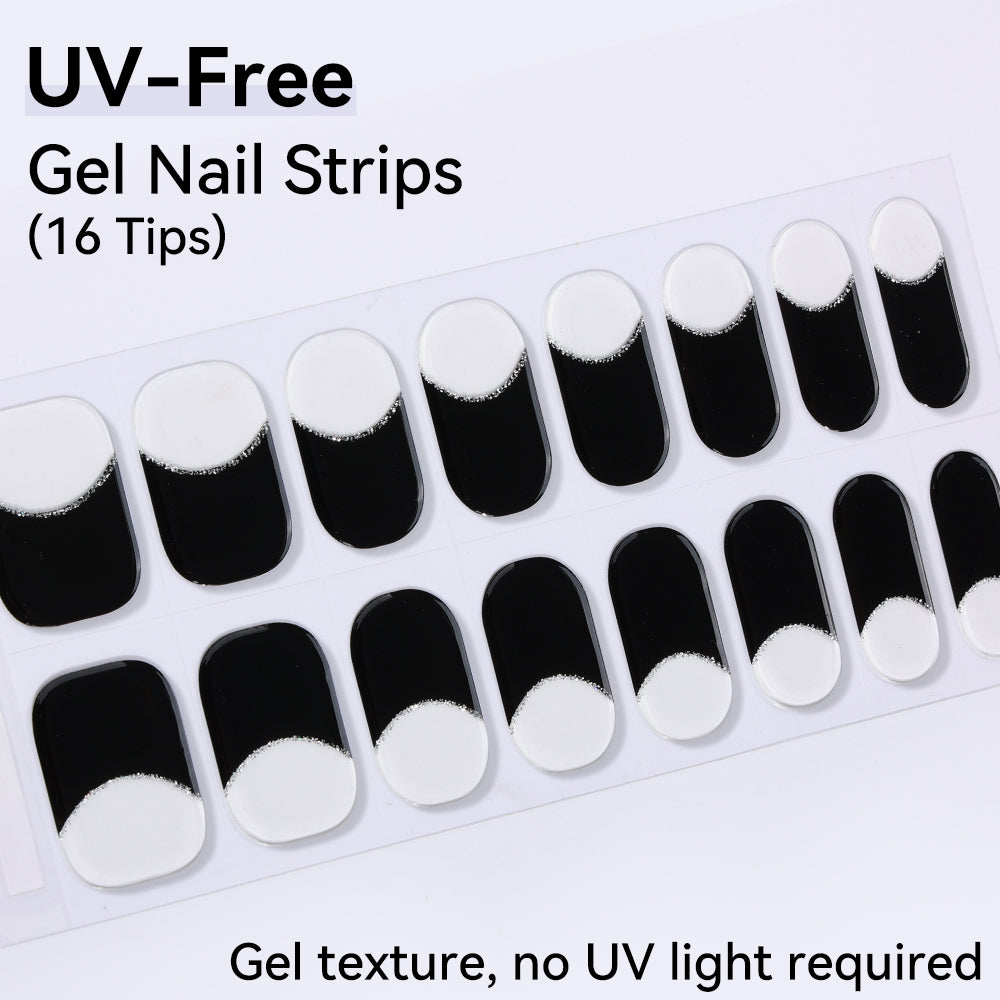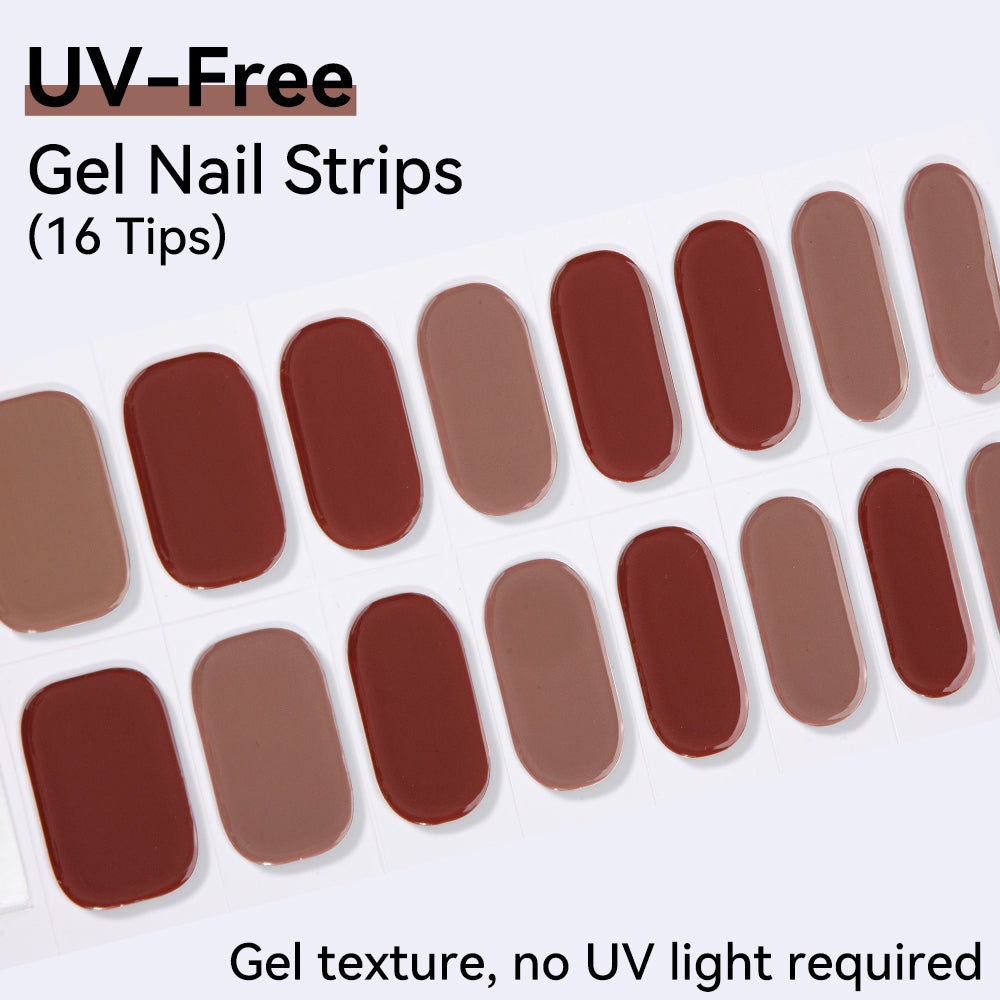

Yes, we said 8 minutes. No, we're not exaggerating.

The Problem With Traditional Manicures (Let's Be Honest)
Let's not pretend the old way is working for anyone.
At the salon:
❌ 1–2 hours per visit
❌ $30–$80+ every time
❌ "Can you squeeze me in next Thursday?"
❌ And then there's the commute
DIY gel polish:
❌ 45–60 minutes of your life
❌ An entire drawer of products you'll use once
❌ That one bubble that ruins everything
❌ 20 minutes of acetone soaking to remove it
We're not here to complain. We're here to fix it.
What If There Was a Better Way?
What if we told you that you could have a salon-quality manicure in just 8 minutes — with no lamp, no mess, and no appointment needed?
That's not a typo. That's Arte Clavo UV-Free Gel Nail Strips.
Everything you love about gel polish. None of the stuff that makes gel polish annoying.
So, What Exactly Are Gel Nail Strips?
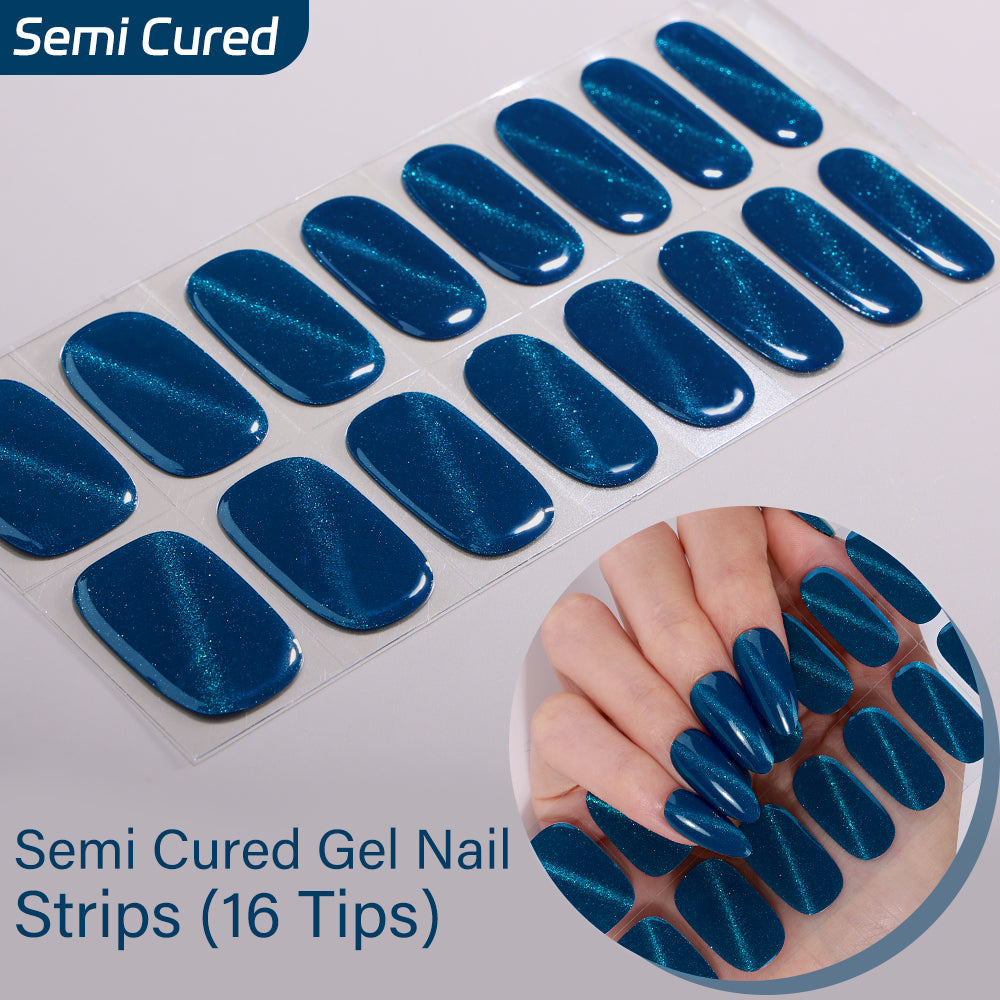
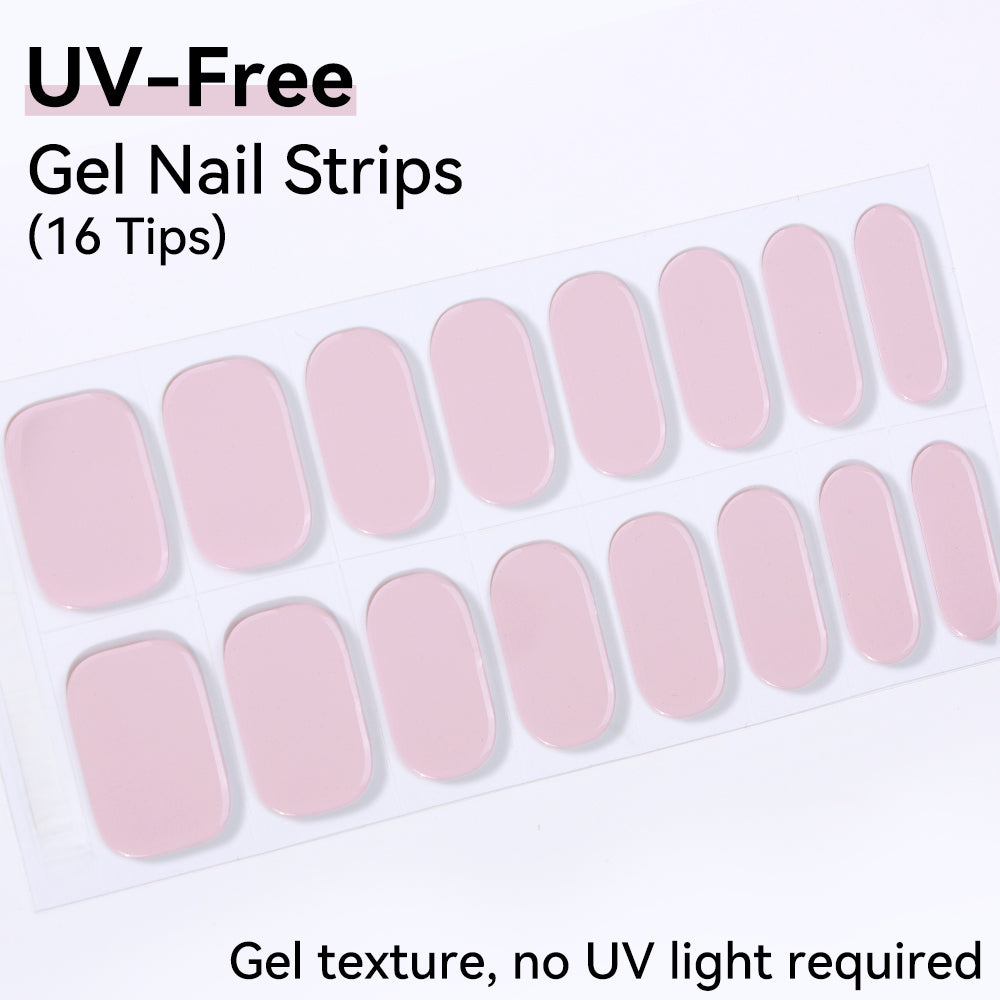
Think of them as pre-made gel polish — solid, precut pieces of real gel that you apply directly to your nail. No liquid. No curing. No drama.
✅ No UV/LED lamp required — they cure the moment you stick them on
✅ Apply in minutes — peel, stick, file, done
✅ Last 2+ weeks — same staying power as salon gel
✅ Remove in 2–3 minutes — no acetone, no soaking
✅ Look genuinely professional — we're proud of the finish
The short version: Every single thing you want from gel polish, and basically none of the drawbacks.
🆚 Gel Strips vs. Traditional Gel Polish
| Feature | Traditional Gel Polish | Gel Nail Strips |
| Application Time | 45-60 minutes | 8 minutes ⚡ |
| Equipment Needed | UV/LED lamp, base/top coat | None ✅ |
| Skill Level | Intermediate-Advanced | Beginner-friendly 🌟 |
| Cost per Manicure | $15-$30 (DIY) | $5-$15 💰 |
| Drying Time | 2-3 minutes per coat | Instant ⏱️ |
| Durability | 2-3 weeks | 2+ weeks 💪 |
| Removal | Acetone soak (15-20 min) | Gentle removal (2-3 min) |
| Mess Risk | High (liquid polish) | Zero (solid strips) |
| Design Options | Limited by skill | 200+ patterns, ready to go |
| Portability | Multiple bottles needed | Fits in your bag 🎒 |
Winner: Gel Strips. Every time.
⏱️ Your 8-Minute Manicure (Yes, Really)
What you need — and it all comes in the kit:
- Gel nail strips (sized and ready)
- Mini nail file
- Cuticle stick
- Alcohol prep pad (prepare by yourself)
That's it. No lamp. No extra bottles. No instructions that require a chemistry degree.
Step 1: Prep Your Nails (2 minutes) 💅
Do this:
✅ Wash hands thoroughly
✅ Push cuticles back gently
✅ Wipe nails with the alcohol pad — remove every trace of oil
✅ Make sure nails are completely dry
Do NOT do this:
❌ Put on lotion or hand cream before
❌ Skip the alcohol step — seriously, don't
💡 Pro tip: Clean, dry, oil-free nails = strips that actually stay on. This is the step most people rush through. Don't.
Step 2: Apply the Strips (4 min) 🎯
For each nail:
- Pick your size — choose the strip slightly smaller than your nail width. Smaller is better. If it's too big, it'll lift.
- Peel from the backing — handle by the edges so you don't leave fingerprints
- Place at the cuticle line — align it, don't slap it down
- Press firmly — start from the center, push edges out, eliminate air bubbles
- Warm hands help — your body heat improves adhesion. If your hands are cold, warm them up first
⏱️ Time per nail: about 30 seconds. Yes, really.
Step 3: Trim & File (2 min) ✂️
- Trim the excess — cosmetic scissors, cut close to the nail edge
- File in one direction — don't saw back and forth. One smooth stroke, one direction
- Final check — make sure all edges are sealed. No lifting. No bubbles.
🎯 Done. Go admire your nails.
💎 Pro Tips That Actually Make a Difference
Application 📝
Size matters more than you think.
Pick strips slightly smaller than your nail. Overlapping at the edges is the #1 cause of premature lifting.
Clean nails are not optional.
We mean it. Use the alcohol pad thoroughly. Every bit of oil or residue weakens the bond.
One direction when filing. Always.
Sawing back and forth weakens the bond and creates rough edges.
Aftercare 🌟
Wait 1 hour before full water exposure.
Give the strips time to fully set. After that, they're waterproof — yes, you can do the dishes. But maybe still wear gloves for harsh chemicals.
Cuticle oil is your friend.
A drop daily keeps nails hydrated and extends strip life. It's the small habit that makes a big difference.
Don't pry at them.
If an edge starts lifting, don't just yank it off. Apply cuticle oil around the edge and gently peel from the cuticle line. Patience saves your natural nail.
🌟 Why Arte Clavo Gel Strips
We could tell you we're confident. But we'll just show you why:
✅ 100% HEMA & TPO-Free — safer for sensitive skin, better for everyone
✅ UV-Free technology — no lamp needed, ever
✅ Vegan & Cruelty-Free — ethical beauty that actually works
✅ 200+ designs — from timeless solids to seasonal patterns
✅ 2+ weeks of wear — tested, not just promised
✅ Beginner-friendly — our first-time users nail it in 8 minutes
✅ $5–$15 per set — a fraction of salon costs
🎨 Design Collections
| Collection | Styles | Best For |
| Solid Colors | 50+ shades | Everyday, work, minimalism |
| French Tips | Classic & modern | Professional, timeless |
| Glitter & Metallic | Sparkly finishes | Parties, events, joy |
| Nail Art Designs | Patterns, florals | Self-expression |
| Seasonal | Holiday themes | Making a moment of it |
💰 The Numbers Don't Lie
| Option | Cost per Manicure | Time | Durability |
| Salon Gel | $30-$80+ | 1-2 hours | 2-3 weeks |
| DIY Gel Polish | $15-$30 | 45-60 min | 2-3 weeks |
| Arte Clavo Strips | $5-$15 | 8 min | 2+ weeks |
🏆 Winner: Arte Clavo. Full stop.
❓ Your Questions, Answered
Q1: How long do they actually last?
With proper application and care, 2–3 weeks. Some of our customers report 4 weeks. It depends on your lifestyle and how well you prep.
Q2: Do I need a UV lamp?
No. That's the whole point. They're UV-free and cure on contact.
Q3: Can I shower with them?
Yes — just wait 1 hour after application before getting them wet. After that, they're waterproof.
Q4: Will they damage my natural nails?
No. When applied and removed correctly, they're actually gentler than traditional gel because there's no acetone soaking, no drilling, and no buffing required.
Q5: Can I apply regular polish over gel strips?
A: Yes! Gel strips make an excellent base for regular nail polish. Just add your favorite color on top.
Q6: What if a strip doesn't fit my nail?
Two options: pick a smaller size, or use two smaller strips side by side. Overlapping is the enemy — don't do it.
Q7: Can I reuse the strips?
Once they're on, they're on. But at $5–15 per set, it's still far more affordable than a salon visit.
🎁 Ready to Start?
Your action plan — takes 8 minutes:
- Choose your first set — solid colors or French tips are foolproof to start
- Clean those nails like you mean it
- Follow the 8-minute guide above
- Show off
That's it. No experience required.
💬 Questions? We're Real Humans.
📧 Email: cs@arteclavo.com
📱 Instagram: @arteclavo.nails
💬 Live Chat: arteclavo.com
💅 Shop Gel Strips: arteclavo.com/collections/gel-nail-strips
The future of at-home manicures is 8 minutes long. Your next appointment is wherever you are.
💅✨